
Growing microgreens in your greenhouse lets you harvest fresh, nutritious greens year-round, free from weather constraints. You can control environmental conditions like temperature and humidity, boosting crop yield and quality. With minimal pests, needed pesticides drop considerably. All you need are shallow trays, quality seeds, and good lighting. Plus, the microgreens market is booming! If you're curious about the best varieties and tips for success, there's plenty more to explore.
Key Takeaways
- Utilize a greenhouse for controlled conditions to ensure consistent growth and year-round harvesting of microgreens.
- Select shallow trays with drainage holes and use high-quality seeds specifically labeled for microgreens.
- Prepare the growing medium using peat-based mixes or coconut coir for optimal moisture retention and healthy growth.
- Maintain consistent moisture and humidity levels, using sprayers and monitoring tools to prevent root rot and encourage germination.
- Explore market potential by targeting restaurants, grocery stores, and online platforms, capitalizing on health trends and sustainable practices.

10 Plant Growing Trays (with Drain Holes) – 20" x 10" – Perfect Garden Seed Starter Grow Trays: for Seedlings, Indoor Gardening, Growing Microgreens, Wheatgrass & More – Soil or Hydroponic
Quantity 10 – Durable Plastic – WITH Drain Holes
As an affiliate, we earn on qualifying purchases.
As an affiliate, we earn on qualifying purchases.
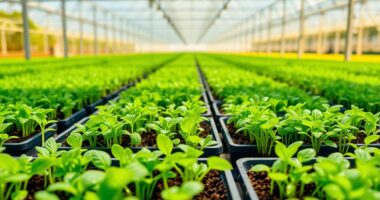
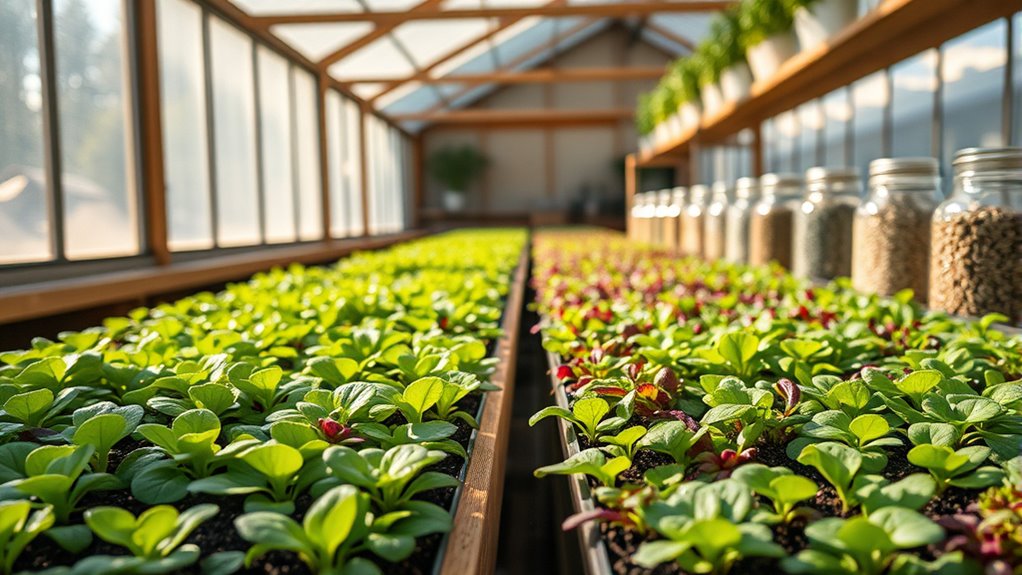
Benefits of Growing Microgreens in a Greenhouse
If you're considering growing microgreens, using a greenhouse offers numerous advantages that can elevate your gardening experience.
First, you can enjoy year-round harvesting, regardless of the weather outside. The controlled environment guarantees consistent growth and quality, while also protecting your crops from pests and diseases, reducing pesticide use.
You'll maintain ideal temperature and humidity levels, which can boost your crop yield considerably. Plus, the UV light transmission in greenhouses enhances the color and flavor of your microgreens, making them even more appealing.
With these benefits, you'll not only cultivate a diverse range of nutrient-dense microgreens but also maximize your gardening potential, leading to a more fruitful and satisfying growing experience.
GooingTop LED Grow Light,6000K Full Spectrum Clip Plant Growing Lamp with White Red LEDs for Indoor Plants,5-Level Dimmable,Auto On Off Timing 4 8 12Hrs
6000K White Light – equipped with 10 Red + 74 White LEDs, this growing Lamp is similar to…
As an affiliate, we earn on qualifying purchases.
As an affiliate, we earn on qualifying purchases.
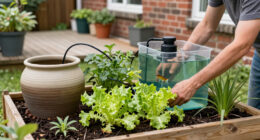
Essential Supplies for Growing Microgreens

To successfully grow microgreens, you'll need a few essential supplies that set the stage for vibrant, healthy plants.
To grow vibrant microgreens, gather essential supplies that create the ideal environment for healthy plants.
Start with trays; use shallow ones (1-2 inches deep) with drainage holes to prevent waterlogging, while a second tray without holes catches excess water.
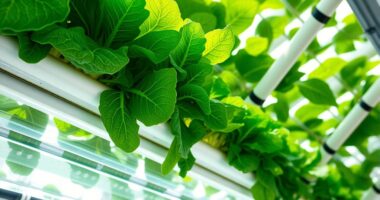
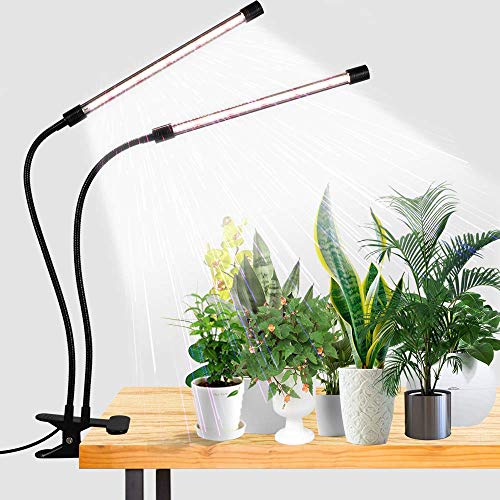
For lighting, natural sunlight is great, but LED or grow lights work well too—just keep them close to your plants for 12-14 hours daily.
Choose high-quality seeds, sow them evenly, and cover lightly with soil.
Maintain consistent moisture with a sprayer, monitoring humidity levels to stay between 40% and 70%.
Finally, gather scissors for harvesting and labels for organization.
These tools will help you create the perfect environment for your microgreens, allowing you to extend your gardening season and enjoy fresh produce year-round.
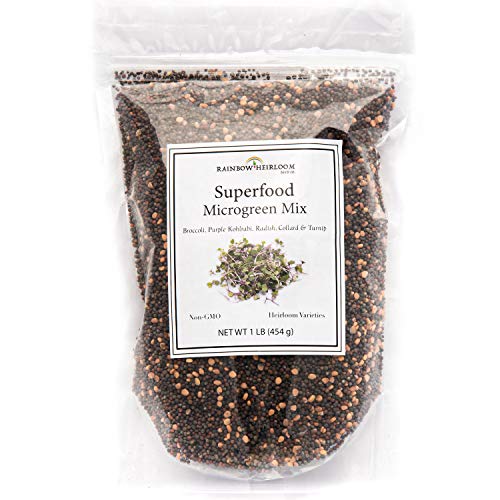
Superfood Microgreen Seeds Mix | for Microgreens Growing Trays | 1 LB | Heirloom Non GMO Purple Kohlrabi, Collard, Radish, Turnip & Broccoli Sprouts Seeds | Rainbow Heirloom Seed Co.
A COLORFUL & DELICIOUS microgreen salad mix containing heirloom non-GMO microgreen seeds. 1 LB bulk resealable package. Top…
As an affiliate, we earn on qualifying purchases.
As an affiliate, we earn on qualifying purchases.
Preparing the Growing Medium

When you prepare the growing medium for your microgreens, selecting the right option is crucial for fostering healthy growth. Peat-based mixes are popular due to their moisture retention, while coconut coir offers a fine texture with low mold risk.
You might also consider hemp or felt grow mats for a nutrient-free choice. Remember that some media, like coconut coir, lack inherent nutrients, so adding fertilizers can enhance crop quality.
Keep your medium moist but not waterlogged, using bottom-watering methods to avoid splashing. Guarantee proper drainage to prevent root rot and mold.
Finally, maintaining ideal humidity and air circulation in your greenhouse will create the perfect environment for your microgreens to thrive.

TempPro TP50 Digital Hygrometer Indoor Thermometer Room Thermometer and Humidity Gauge with Temperature Humidity Monitor(Previously ThermoPro)
Wellness Indicator: This humidity meter with humidity level icon indicates air conditions – DRY/COMFORT/WET, allowing this humidity sensor…
As an affiliate, we earn on qualifying purchases.
As an affiliate, we earn on qualifying purchases.
Sowing Microgreen Seeds

After setting up the right growing medium, it's time to focus on sowing your microgreen seeds.
First, choose seed varieties like arugula, broccoli, or radish, and opt for seeds labeled specifically for microgreens. Consider using non-GMO and organic options for a healthier harvest.
Soaking some seeds for 6-12 hours can enhance germination, but remember to rinse them afterward. Measure your seeds accurately, ensuring even distribution across the growing medium to avoid overcrowding.
While most seeds don't need to be covered with soil, lightly mist them post-sowing to keep them moist. For specific varieties, applying weight can help with seed contact.
Finally, keeping them in a dark environment initially can boost germination rates.
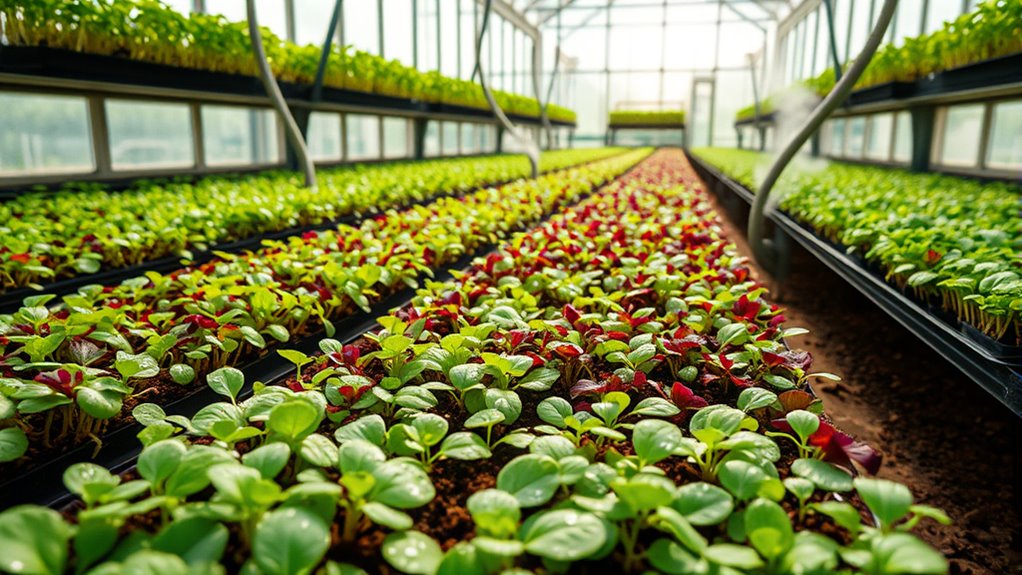
Environmental Conditions for Microgreens

Creating the right environmental conditions is vital for growing vibrant and healthy microgreens.
You'll need to provide 12-16 hours of light daily, using either natural sunlight or LED grow lights to guarantee proper photosynthesis.
Keep the temperature between 60°F and 75°F, ideally around 70°F, to promote ideal growth.
Humidity levels should be maintained between 40% and 70% to prevent mold while securing healthy development.
Proper air circulation is essential, so consider using oscillating fans to strengthen stems and avoid stagnant air.
Finally, choose a lightweight, well-draining growing medium to support your microgreens effectively.
Tips for Successful Microgreen Harvests
Once you've established the right environmental conditions for your microgreens, it's time to focus on harvesting them successfully.
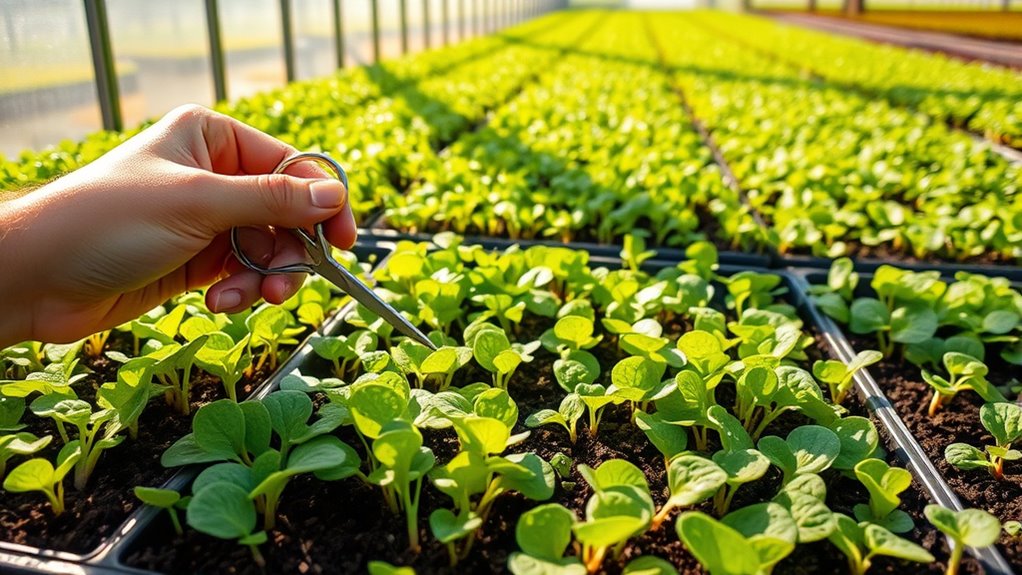
Harvest when the true leaves are fully expanded and vibrant, usually within two weeks. Aim for a height of 1-3 inches and make sure to cut just above the soil line using clean, sharp scissors to prevent root damage.
The best times to harvest are early morning or evening for maximum freshness. Always wash your microgreens in cold water, then dry them in front of a fan to avoid moisture buildup.
Store them in a sealed container in the refrigerator, where they can last up to a week. Remember to only harvest what you need to allow for continued growth.
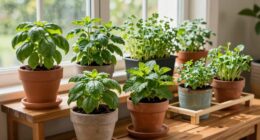
Varieties of Microgreens to Consider

When you decide to grow microgreens, you'll find a diverse array of varieties to choose from, each offering unique flavors, textures, and nutritional benefits.
Start with the Brassica family, which includes kale, mustard, and arugula, known for their quick growth and rich nutrients.
If you prefer distinct flavors, consider Apiaceae varieties like cilantro and dill, though they take a bit longer to germinate.
For a fresh, summery taste, basil from the Lamiaceae family is an excellent option.
Pea microgreens, such as sugar snaps, provide abundant mass and are easy to grow.
Don't forget about colorful choices like beets and chard, which add visual flair and diverse flavors to your meals.
Enjoy experimenting with these delightful microgreens!
Market Potential and Selling Your Microgreens

As you explore the market potential for selling microgreens, you'll discover a rapidly growing industry fueled by increasing consumer demand for healthy and premium food options.
The global microgreens market was valued at USD 2.59 billion in 2022 and is projected to reach USD 6.12 billion by 2030, growing at a CAGR of 11.9%. North America leads the market, but Asia Pacific shows significant growth potential.
The microgreens market is set to surge from $2.59 billion in 2022 to $6.12 billion by 2030, with North America at the forefront.
Key drivers include health awareness and sustainable practices. You can tap into various distribution channels like restaurants, grocery stores, and online platforms to reach customers.
With prices ranging from $30 to $40 per pound, effective marketing and product differentiation can enhance your profitability in this promising market. Additionally, understanding production quantity variance can help you optimize your production process and improve financial performance.
Common Challenges and Solutions in Microgreen Cultivation

Microgreen cultivation can be rewarding, but it also presents several challenges that growers must navigate to guarantee healthy crops.
Temperature control is essential; keep your greenhouse between 60-70°F. Use programmable thermostats and humidifiers to maintain ideal conditions.
Make sure your microgreens get at least 8 hours of light daily with adjustable LED grow lights. High humidity can cause mold, so enhance air circulation with fans.
For pest and disease management, incorporate beneficial insects and monitor regularly for issues. Avoid overwatering to prevent root rot and maintain a clean growing environment to eliminate pathogens. Additionally, consider using portable AC units to help regulate temperature effectively during hot spells.
Frequently Asked Questions
How Long Can Microgreens Be Stored After Harvest?
Microgreens can be stored for about 3 to 14 days after harvest, depending on the variety.
To maximize their shelf life, keep them at around 40°F and maintain high humidity.
Avoid washing them before storage, as this can shorten their freshness.
Instead, store them in airtight containers with paper towels to control moisture levels.
Can Microgreens Be Grown Indoors Without a Greenhouse?
Absolutely, you can grow microgreens indoors without a greenhouse! They thrive in small spaces, like kitchen windowsills or countertops.
Just make sure you have the right containers, soil, and lighting—natural or grow lights work well.
You'll love how quickly they grow, usually ready to harvest in just 7 to 14 days.
With minimal maintenance and space requirements, you can enjoy fresh, nutritious greens year-round right in your home!
What Are the Most Popular Microgreen Varieties?
When you're exploring popular microgreen varieties, you'll find a few favorites that stand out.
Red cabbage microgreens offer vibrant color and sweetness, while arugula adds a nice peppery kick.
Radish microgreens are quick to grow and bring a spicy flavor to your dishes.
Kale microgreens are mild yet packed with nutrition, and sunflower microgreens are both easy to grow and versatile in meals.
These options can elevate any culinary creation you whip up!
Do Microgreens Require Fertilization During Growth?
Did you know that properly fertilized microgreens can yield up to 40% more than unfertilized ones?
Yes, microgreens do require fertilization during growth to guarantee they receive essential nutrients like nitrogen, phosphorus, and potassium.
Using balanced fertilizers at the right concentration can enhance their flavor and nutrient density.
However, be careful not to over-fertilize, as that can lead to burning.
Timing and method matter, so pay attention for the best results!
How Can I Ensure My Microgreens Are Organic?
To guarantee your microgreens are organic, start by selecting certified organic seeds from reputable suppliers.
Store these seeds in a cool, dry place to maintain their viability.
When planting, soak the seeds beforehand to enhance germination.
Use a soil-less mix with organic components, and keep the growing medium consistently moist.
Monitor your environment, guaranteeing proper lighting, temperature, and humidity, and always follow organic practices throughout the cultivation process.
Conclusion
As you nurture your microgreens in the greenhouse, envision them as tiny emerald jewels, bursting with potential. Each seed you sow is a promise of vibrant flavors and health benefits, reflecting the care you put into their growth. With the right conditions and dedication, these little greens can transform your space into a flourishing oasis. Just like a gardener tending to their dreams, you're cultivating not only plants but also a thriving venture—one that can blossom beautifully in the market.