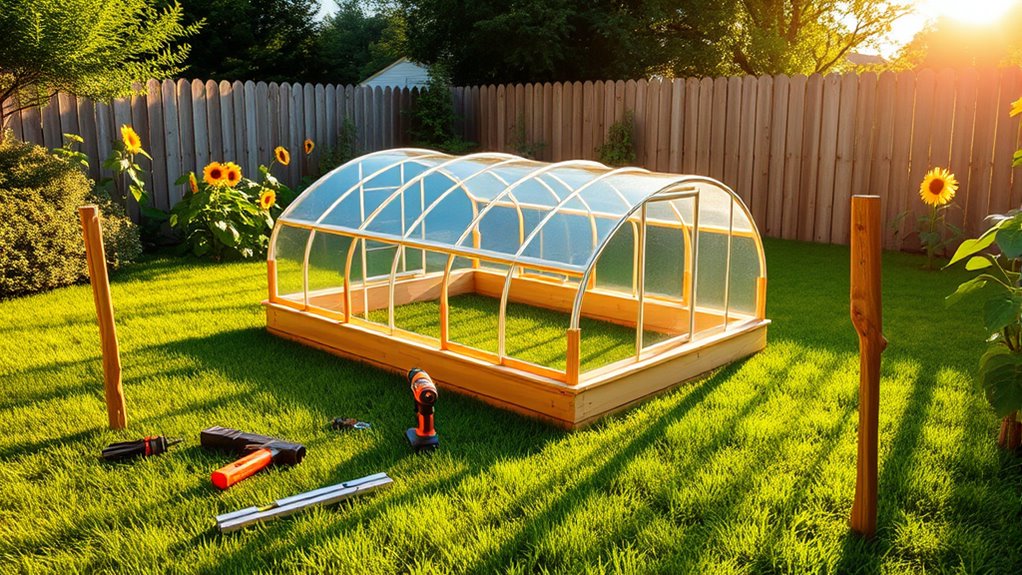
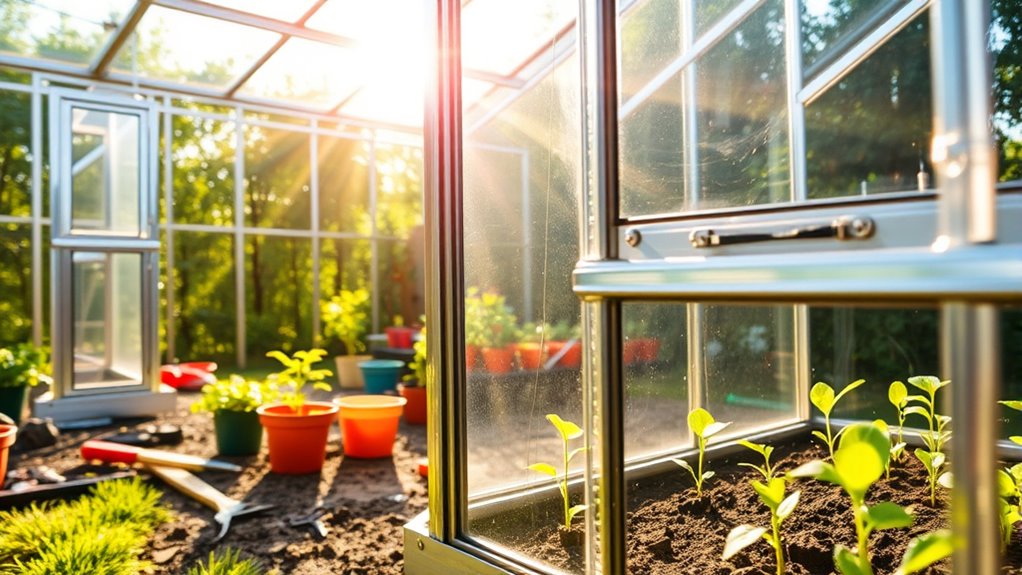
Assembling a pre-made greenhouse kit involves careful planning. First, choose a sunny, level location and prepare the foundation by clearing debris. Next, assemble the frame, ensuring it’s square and secure with bracing. Install the panels, aligning them with supports and fastening them properly. Incorporate features like automated vents for climate control and a drip irrigation system for efficient watering. With the right setup, you’ll create a thriving environment for your plants. There’s more to explore about optimizing your greenhouse!
Key Takeaways
- Ensure the site has at least six hours of direct sunlight and proper drainage before assembly.
- Level the ground and prepare a stable foundation using concrete or compacted soil.
- Follow the manufacturer’s instructions for frame assembly, ensuring the structure is level and square.
- Secure panels with screws, avoiding overtightening, and use clamps to hold them in place during installation.
- Incorporate additional features like automated vents and a drip irrigation system for efficient greenhouse management.

DIY Kit Company, LLC Greenhouse. Build Your Own DIY Greenhouse Bracket Kit. Includes Brackets and Complete Set of Plans. Expandable. Made in The USA. No Angled Cuts
DIY Greenhouse Kit.
As an affiliate, we earn on qualifying purchases.
As an affiliate, we earn on qualifying purchases.
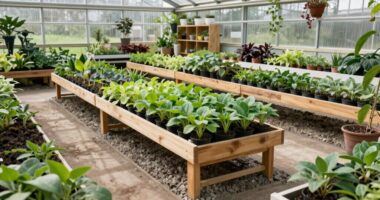
Location Selection and Preparation
When choosing a location for your greenhouse, it’s important to assess the site thoroughly to maximize plant growth and guarantee structural stability.
Start by evaluating the microclimate; avoid areas with frequent fog or low light. Make sure your site receives at least six hours of direct sunlight daily for ideal growth.
Assess the microclimate carefully; ensure your greenhouse site enjoys ample sunlight, avoiding fog and low-light conditions for optimal plant growth.
A level topography is essential for even sunlight distribution and structural soundness. Consider wind patterns, as prevailing winds can affect stability and plant health.
Nearby trees or structures can provide beneficial shade, preventing overheating. Don’t forget about water availability and drainage; sufficient high-quality water and well-draining soil are crucial.
Finally, think about accessibility to utilities and transportation for smooth operations.
Auto Vent Opener Automatic Greenhouse Window Opener Cylinder Roof Vent Opener Autovent Kit Solar Heat Sensitive Agriculture Gardening Tools Automatic Greenhouses Supplies (Single Spring Lifts 15 Lbs)
【Optimal Ventilation System】Your plants are optimally ventilated through temperature-controlled opening and closing. Depending on the temperature, the piston…
As an affiliate, we earn on qualifying purchases.
As an affiliate, we earn on qualifying purchases.
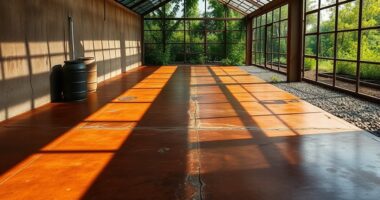
Foundation Setup
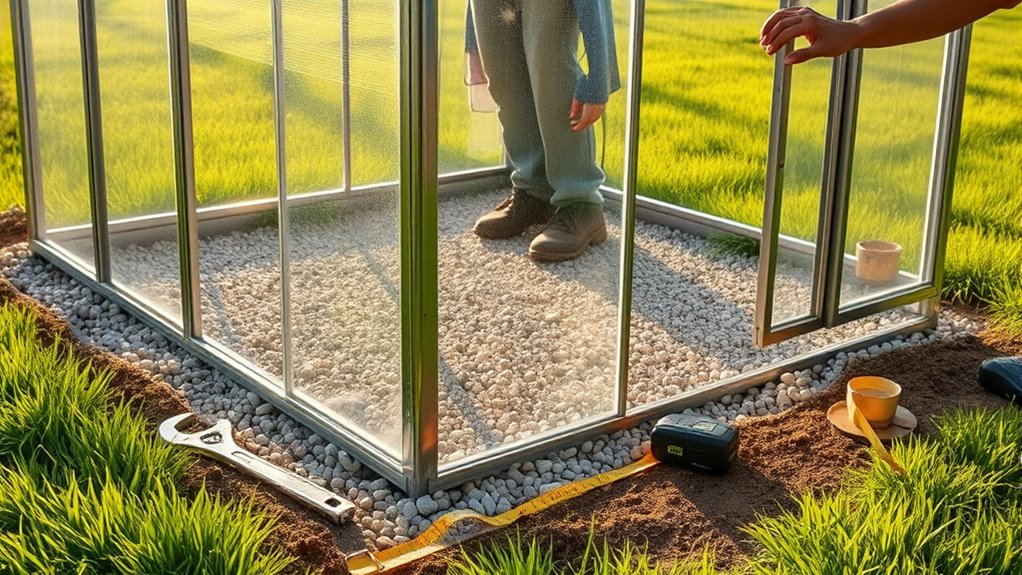
After selecting the perfect location for your greenhouse, the next step is to establish a solid foundation. You can choose from several types: a concrete foundation offers durability, while a wooden foundation works well for smaller structures.
If you prefer stability, consider brick or cinder block, but remember to seal them against pests. For a cost-effective option, a compacted soil foundation lets you plant directly into the earth.
Begin with site preparation—clear debris and level the ground. Dig trenches for your chosen foundation type and compact the base material for stability.
Finally, secure your greenhouse to the foundation using concrete screws, ensuring it’s level and well-drained to prevent issues down the line.

Thiswing 360° Adjustable Drip Irrigation System – 50 FT Garden Watering System with 16 Nozzles, Raised Bed Sprinkler Irrigation System, Garden Mister for Yard, Lawn, Plants, 5/16" Tubing
STRONG WATER FLOW: Compared with 1/4-inch tubing, our 5/16-inch tubing have a larger inner diameter, which significantly increases…
As an affiliate, we earn on qualifying purchases.
As an affiliate, we earn on qualifying purchases.
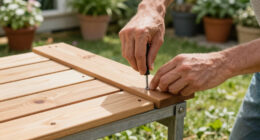
Frame Assembly
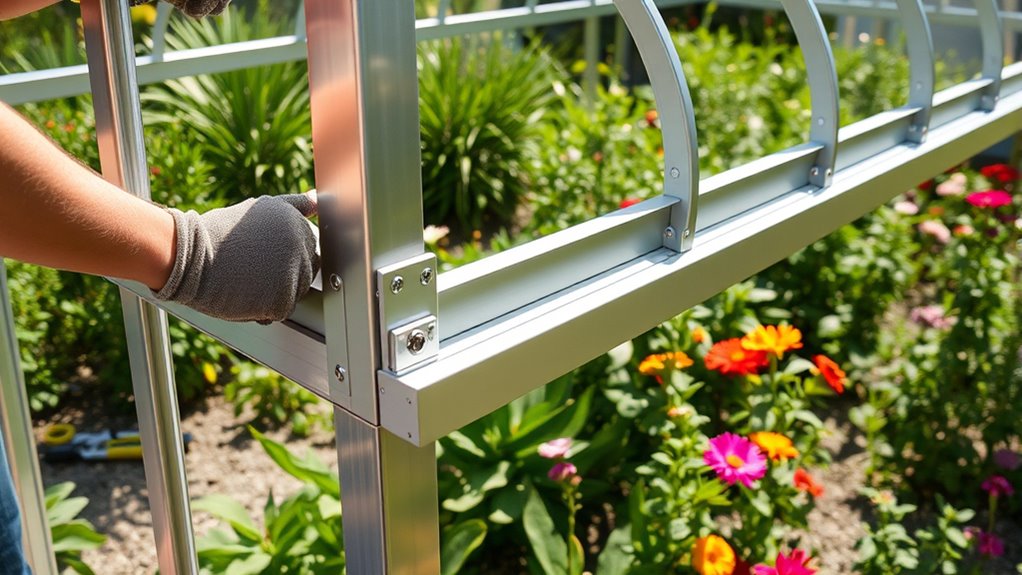
To create a sturdy greenhouse, you’ll want to focus on assembling the frame properly, as it provides essential support for the entire structure.
Start with the baseboard and eaveplate to secure the columns. Install corner bracing to add stability, making sure the spacing is appropriate for your model.
Begin by securing the columns with the baseboard and eaveplate, then enhance stability with properly spaced corner bracing.
Assemble the trusses and place them into the columns, followed by attaching the pre-assembled end walls.
Next, interlock the side walls at the corners and slide the roof sections into place. Use brace bands and tie chains for additional reinforcement, particularly in larger greenhouses.
Keep your tools handy—wrenches, screwdrivers, and a level—while preparing a flat, clean surface for assembly to guarantee everything aligns correctly.

Palram – Canopia EcoGrow 6' x 12' Base Kit
Assembled dimension: 6' x 12' x 5"
As an affiliate, we earn on qualifying purchases.
As an affiliate, we earn on qualifying purchases.
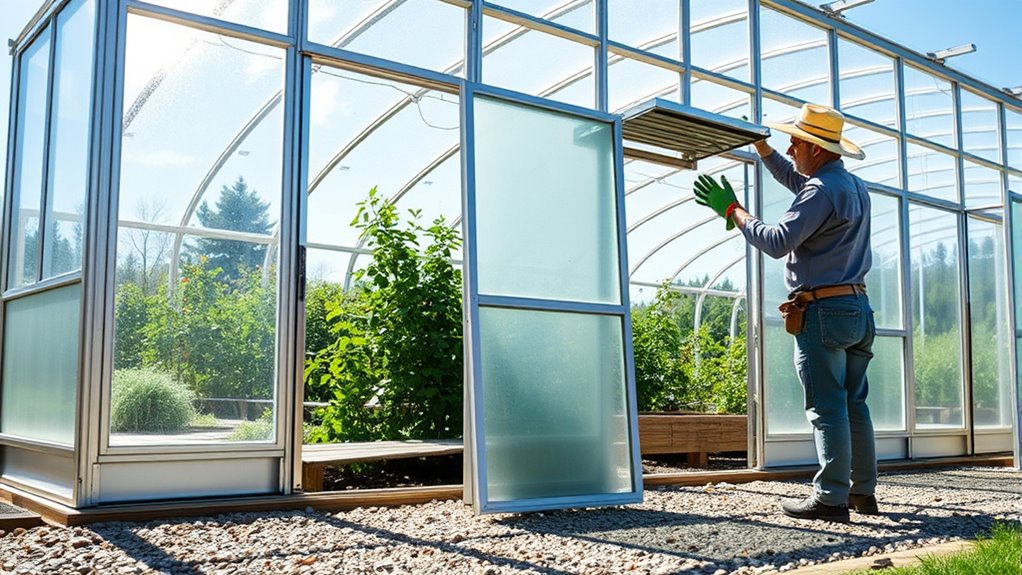
Panel Installation
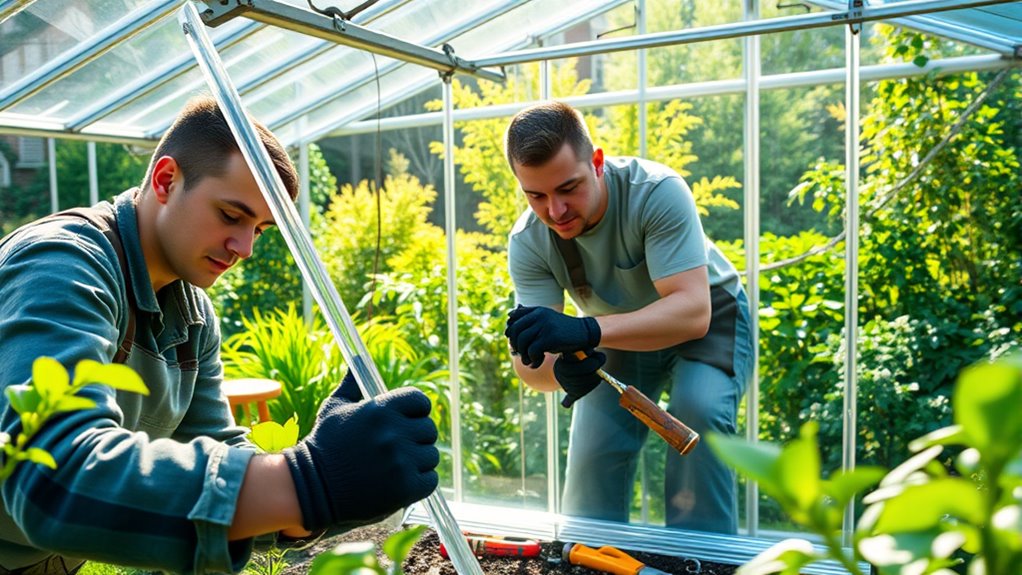
When you start panel installation, proper alignment is essential for a secure fit and to prevent gaps.
You’ll also want to install a drip edge to direct water away from your greenhouse, protecting it from moisture damage.
Let’s explore these techniques to guarantee your panels are installed correctly and efficiently.
Panel Alignment Techniques
Proper panel alignment is essential for a successful greenhouse installation, and following a few key techniques can make the process smoother.
First, verify your greenhouse frame is level and square; this creates a solid foundation for your panels. Use cross-bracing at 24- or 36-inch intervals to support the panels adequately.
When positioning the panels, make sure they’re centered and aligned with the supports. Align the closure strips with horizontal supports for a secure fit.
As you fasten the panels with screws, avoid overtightening to prevent damage. Pre-drilling holes helps prevent micro-cracks, so don’t skip this step.
Using clamps can also help hold panels in place, especially when you’re working alone.
Drip Edge Installation
After ensuring your panels are properly aligned, it’s time to focus on the drip edge installation, an essential step in protecting your greenhouse. This flashing directs water away from the foundation, preventing damage from rot and mildew.
Start by ensuring the site is level and clear. Use double-sided VHB tape to attach the drip edge flashing to the polycarbonate panels, following the manufacturer’s instructions closely. This feature, now standard in many kits, helps manage winter condensation and keeps your foundation wall dry.
Make sure the panels fit snugly and regularly inspect the installation for any issues. By properly installing the drip edge, you’ll enhance your greenhouse’s durability and reduce maintenance needs in the long run.
Additional Features
When it comes to enhancing your greenhouse, consider adding effective ventilation options and a reliable irrigation system.
These features can greatly improve plant health by ensuring ideal airflow and consistent moisture levels.
Let’s explore how these additions can elevate your greenhouse experience.
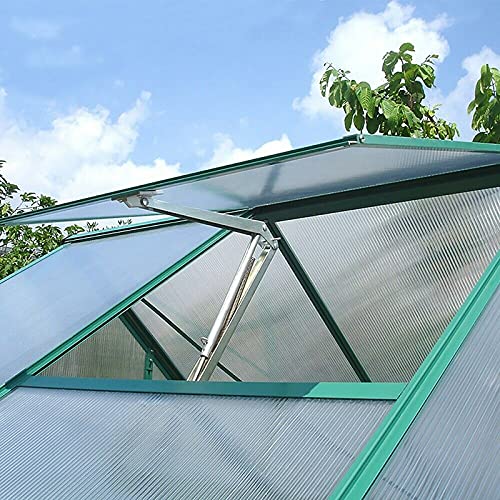
Ventilation Options
Although natural ventilation is essential for maintaining ideal greenhouse conditions, incorporating additional features can greatly enhance airflow and climate control.
Alongside roof vents, consider these options to optimize your greenhouse’s ventilation system:
- Automated Vent Openers: Devices like Bayliss MK7 allow for effortless roof vent operation.
- Screen Kits: Install these on roof vents to keep insects at bay.
- Jalousie Windows: Perfect for extra ventilation if base wall vents aren’t available.
- Heat-Activated Vents: These require no electricity and automatically open based on temperature.
Irrigation System Setup
How can you guarantee your plants receive the right amount of water in your greenhouse? By setting up a drip irrigation system, you can effectively deliver water directly to your plants’ roots, minimizing evaporation and waste.
These systems aren’t only easy and affordable to install but also scalable to fit any greenhouse size. Start by evaluating your greenhouse layout and calculating the necessary components like filters, pressure regulators, and emitters.
Consider adding automatic timers for convenience and seasonal adjustments to match your plants’ needs. Regular maintenance is essential to prevent clogging and maintain efficiency. Additionally, implementing backyard greenhouses can enhance your gardening experience by extending the growing season.
With the right setup, you’ll ascertain consistent moisture for thriving plants in your greenhouse.
Ventilation and Climate Control
Effective ventilation is crucial for maintaining a healthy greenhouse environment, as it regulates temperature and humidity levels essential for plant growth.
Proper ventilation not only prevents overheating but also reduces humidity, promoting healthy plants. Here are key benefits of effective ventilation:
- Temperature Regulation: Keeps ideal temperatures for plant health.
- Humidity Control: Reduces humidity to minimize disease risk.
- Air Movement: Encourages necessary airflow, preventing stagnant conditions.
- Carbon Dioxide Exchange: Facilitates essential gas exchange for photosynthesis.
You can choose between passive systems, like roof and side vents, or active systems, such as mechanical fans, based on your greenhouse needs.
Automated solutions further enhance convenience by reducing the need for manual adjustments, ensuring your plants thrive in the best conditions.
Irrigation System Setup
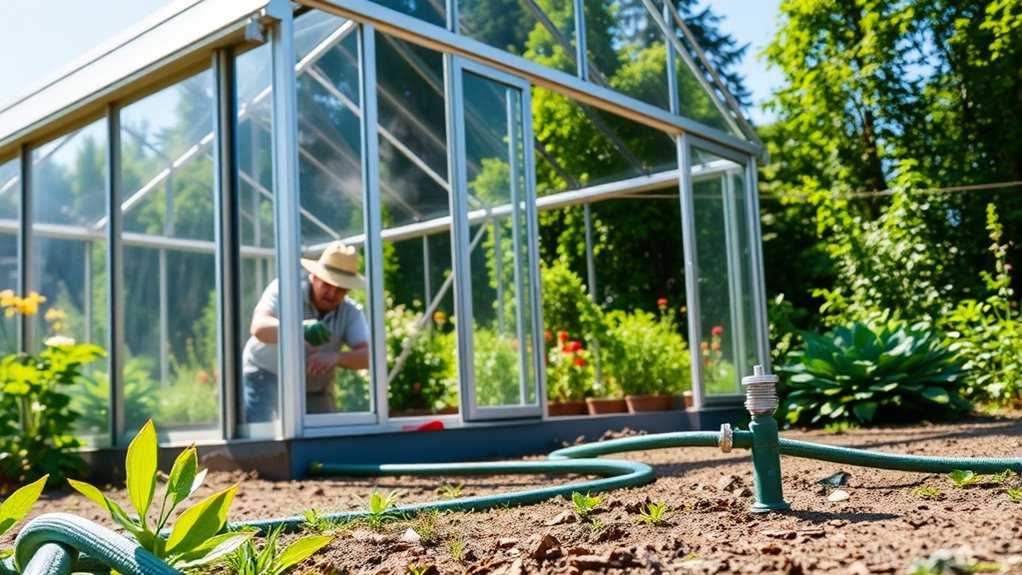
Setting up an irrigation system is vital for ensuring your greenhouse plants receive the right amount of water and nutrients.
Start with a reliable water supply and incorporate a back flow prevention valve to protect your main water source.
Choose between drip irrigation for efficiency or micro-sprinkler systems for broader coverage.
Install a water filtration system to keep emitters clear and a pressure regulator to maintain ideal flow.
Consider adding a fertilizer injector for nutrient delivery directly through the system.
Proper pipe sizing and emitter placement are essential for uniform water distribution.
Regular maintenance with flow meters and pressure gauges will help you monitor system performance and catch issues early, ensuring your greenhouse thrives. Additionally, understanding greenhouse gardening techniques will maximize your success in growing a variety of plants.
Electrical Components
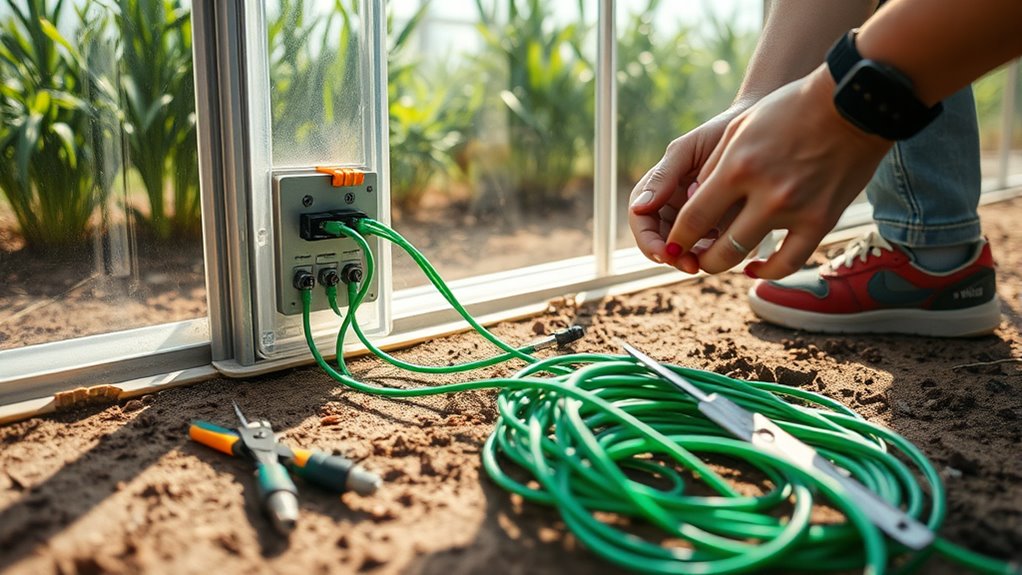
With your irrigation system in place, it’s time to focus on the electrical components that will enhance your greenhouse experience.
Now that your irrigation system is ready, shift your attention to the electrical components for an optimized greenhouse experience.
These elements play an essential role in automation and climate control, ensuring ideal conditions for your plants. Here are some key components to take into account:
- Arduino Boards: Kits often include boards like the MKR WiFi 1010 for IoT connectivity.
- Sensor Integration: Temperature, humidity, and CO2 sensors help you monitor conditions effectively.
- Control Systems: Thermostats and timers manage heating, cooling, and misting operations.
- Power Supplies: Your kit should come with all necessary cables and power supplies for easy setup.
Integrating these elements will streamline your greenhouse management and contribute to healthier plants.
Enjoy the benefits of automation and real-time monitoring!
Maintenance and Safety Tips
Maintaining your greenhouse and guaranteeing safety are essential for a thriving environment. Regular inspections of frames, glazing, and ventilation keep everything running smoothly, while cleaning surfaces prevents disease. Don’t forget to maintain proper ventilation and floor care.
| Maintenance Tips | Safety Precautions |
|---|---|
| Conduct routine inspections | Clear debris from heating |
| Keep repair logs | Perform combustion tests |
| Clean surfaces regularly | Seal vents and windows |
| Inspect frames after weather | Guarantee proper ventilation |
Check your irrigation systems for leaks and manage temperature and humidity. Finally, always be prepared for emergencies by testing backup systems. With these tips, your greenhouse will flourish safely.
Frequently Asked Questions
How Long Does It Take to Assemble a Greenhouse Kit?
It usually takes you anywhere from a few days to several weeks to assemble a greenhouse kit.
Smaller kits may only require 2-3 days with some help, while larger ones can stretch to weeks.
Your skill level and the tools you have will also play a role in the assembly time.
Can I Customize the Design of My Greenhouse Kit?
Did you know that over 60% of greenhouse owners customize their designs?
You can definitely customize the design of your greenhouse kit! You’ll find options for frame materials, sizes, and roof coverings that suit your needs.
Plus, you can choose door sizes, ventilation systems, and even additional features like shelves and benches.
With so many possibilities, you can create a unique greenhouse that perfectly fits your space and gardening style.
What Tools Are Necessary for Assembly?
To successfully assemble your project, you’ll need a variety of tools.
Grab wrenches and screwdrivers for tightening bolts and fastening parts. A level is essential to guarantee everything’s straight, while pliers help with small components.
Don’t forget a ladder for those hard-to-reach areas. Additionally, a tape measure confirms dimensions, and safety gear like gloves and glasses keeps you protected.
With these tools, you’re set for a smooth assembly experience!
Is a Permit Required for Greenhouse Installation?
To determine if you need a permit for your greenhouse installation, check local regulations first.
Generally, if your greenhouse is under 120 square feet, you mightn’t need one, but this varies by location.
If it’s a temporary structure without a concrete foundation, you may be exempt.
Always consult local authorities to guarantee compliance with zoning laws and building codes to avoid any surprises down the line.
Can I Relocate My Greenhouse Once Assembled?
When it comes to relocating your greenhouse, you can certainly move it, but it’s not a walk in the park.
First, assess its size and weight to decide if disassembly’s necessary. Clear out all contents to lighten the load, and inspect for damage.
Document your setup with photos for easy reassembly. Choose a suitable new site, ensuring it’s level and sunny, before getting a team together for the move.
Conclusion
By assembling your pre-made greenhouse kit, you’re not just building a structure; you’re cultivating a sanctuary for growth, much like the Garden of Eden. With careful attention to location, foundation, and essential features, you’re setting the stage for a flourishing ecosystem. Remember, regular maintenance and safety precautions will keep your green paradise thriving. So, roll up your sleeves and dig into this rewarding project—your plants will thank you as they flourish under your care.