To repair damaged greenhouse coverings, start by identifying signs like cracks, discoloration, and warping. Use durable materials like UV-resistant glazing and weatherproof sealants for repairs. Clean surfaces before applying repair tapes for better adhesion. Regularly inspect for wear and tear, and reinforce weak points to prevent future issues. If tears or water leaks are visible, consider a full replacement. There are more tips and techniques you can apply to enhance your greenhouse maintenance effectively.
Key Takeaways
- Inspect greenhouse coverings regularly for cracks, holes, and discoloration to identify damage early.
- Use UV-resistant glazing and weatherproof sealants to enhance durability and moisture protection.
- Clean surfaces thoroughly before applying repair tapes for optimal adhesion and effectiveness.
- Reinforce weak areas with additional supports and ensure proper drainage around the greenhouse.
- Replace coverings every one to four years to maintain insulation efficiency and plant health.
Identifying Damage in Greenhouse Coverings
When you're managing a greenhouse, identifying damage in the coverings is crucial for maintaining ideal conditions for your plants.
Look for common issues like cracks, holes, and warping, which can compromise the structural integrity and let pests in. Discoloration often signals aging materials that reduce light transmission, while general deterioration can make coverings brittle over time.
Inspect for cracks, holes, and warping, as they weaken structure and invite pests, while discoloration hints at aging materials.
Weather conditions, like hail or storms, and the quality of materials also play a significant role in damage. Regular visual inspections, especially around corners and edges, help catch problems early.
Pay attention to light transmission and condensation on the coverings, as these can indicate hidden issues. Clearing debris around the greenhouse is essential to prevent scratches or punctures that could worsen damage.
Essential Repair Materials
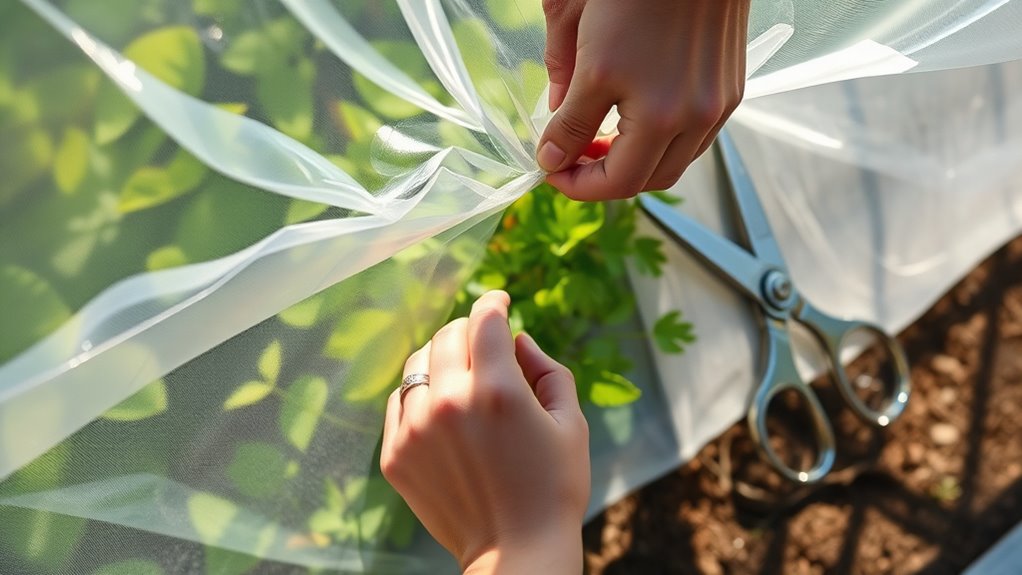
Identifying damage in your greenhouse coverings is just the first step; having the right repair materials on hand can make all the difference.
Start with UV-resistant glazing to guarantee long-lasting protection from sun exposure. Weatherproof sealants will guard against moisture and harsh weather. Use durable framing materials like galvanized steel or rot-resistant lumber to maintain structural support.
For quick fixes, polyethylene tapes and double-sided butyl tape are essential for sealing and repairing tears. Depending on your climate, consider snow-resistant or high-wind materials to withstand local conditions.
Finally, tools like wiggle wire and aluminum channel bases will help secure your repairs effectively, guaranteeing your greenhouse remains a thriving environment for your plants.
Effective Repair Techniques
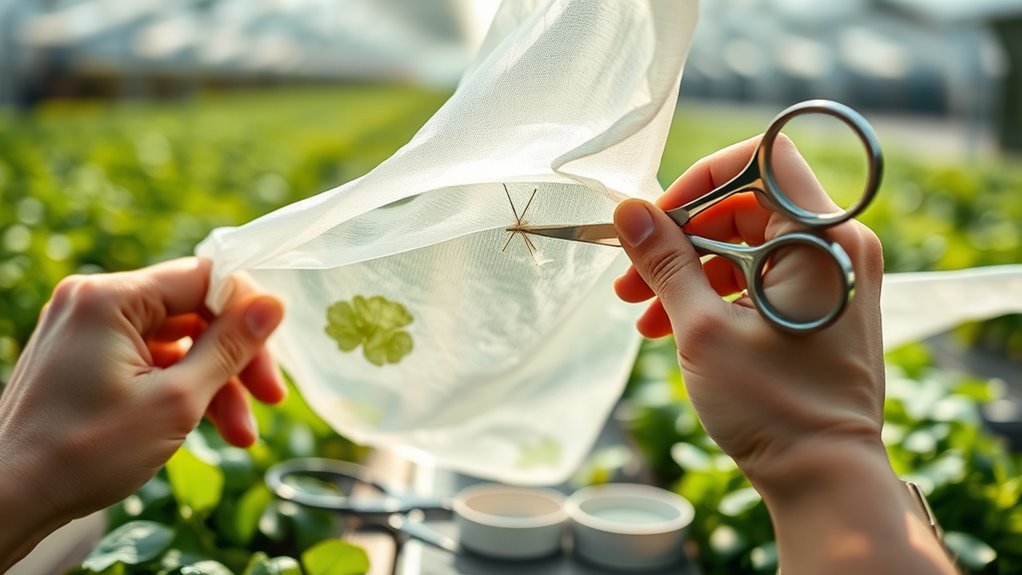
To effectively repair your greenhouse coverings, start by thoroughly evaluating the damage to determine the best course of action. Assess how severe the damage is and choose appropriate repair methods accordingly.
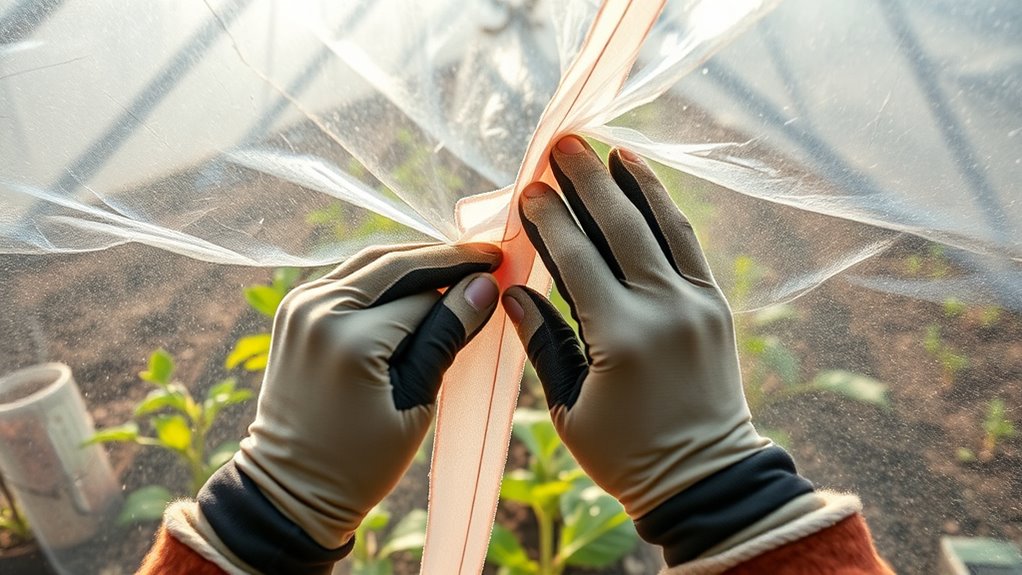
For quick fixes, poly repair tapes work wonders; just make certain the surfaces are clean and free from debris for ideal adhesion. After applying the tape, test your repairs to ascertain they're airtight and watertight, which is vital for maintaining greenhouse conditions.
Avoid common pitfalls like ignoring structural issues or using incorrect materials, as these can lead to further problems. Regularly inspect your greenhouse to catch any issues early, extending the life of your repairs and keeping your plants thriving.
Preventative Measures to Avoid Damage

After addressing immediate repairs, it's important to focus on preventative measures that can help you avoid damage to your greenhouse coverings in the first place.
Regularly inspect your greenhouse frame for wear and tear, guaranteeing all bolts and screws are tight. Reinforce weak points with additional supports, and consider adding V trusses for heavy snow.
Secure your greenhouse covering by checking for tears and using poly repair tape for quick fixes. Tighten the covering and apply wind strapping in high-wind areas.
Maintain a clutter-free environment by securing loose objects outside and moving plants away from walls.
Finally, guarantee proper drainage and keep vents closed during storms to protect your greenhouse from adverse conditions.
When to Consider Replacement
When you notice signs of wear in your greenhouse coverings, it's time to contemplate a replacement rather than just patching up the damage.
Visible tears, holes, or UV damage indicate that your covers can no longer protect your plants effectively. If you're experiencing water leaks or reduced insulation efficiency, these are clear signs that replacement is necessary.
Remember, covers typically need replacing every one to four years, depending on environmental conditions. Opting for a new cover can be more cost-effective than ongoing repairs, ensuring better insulation and UV protection.
Plus, new materials offer increased durability and improved light diffusion, promoting healthier plant growth. Don't wait until it's too late—assess your coverings regularly for peak performance.
Proper Maintenance and Upkeep
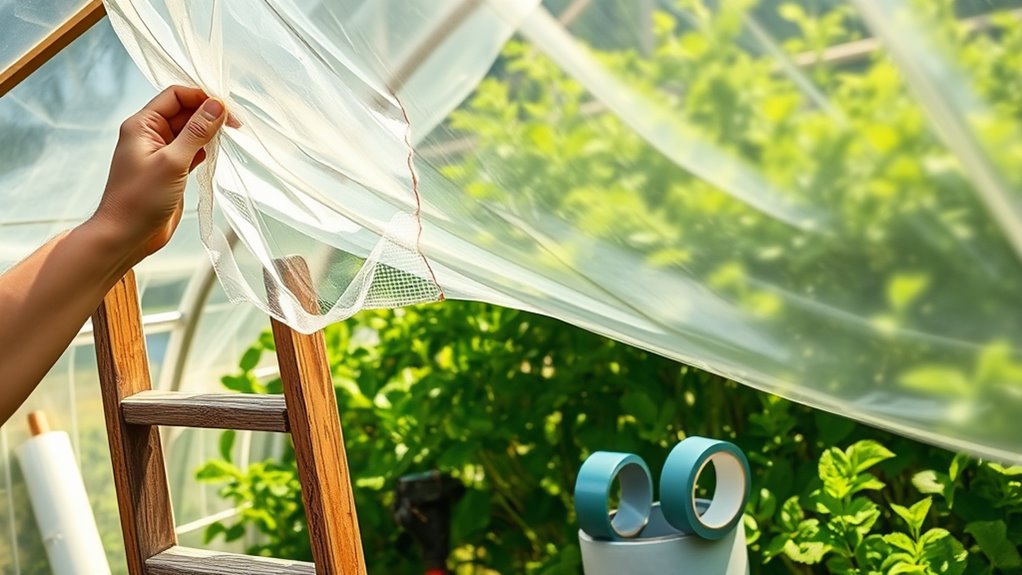
Maintaining your greenhouse coverings is essential for guaranteeing a healthy growing environment, as neglect can lead to costly repairs or replacements down the line.
Regularly clean your coverings with mild soap diluted in water to maximize light transmission and prevent mold buildup. Avoid harsh chemicals, and use soft-bristle brushes or sponges for glass and polycarbonate to avoid damage.
Clean your greenhouse coverings with mild soap to enhance light transmission and prevent mold, using gentle tools to avoid damage.
Inspect your greenhouse frequently for cracks, holes, or any signs of wear. Promptly repair any damage to maintain structural integrity.
Ensure proper ventilation by installing and maintaining vent systems for air circulation, helping to manage temperature and humidity.
Finally, use durable, UV-resistant materials for longevity, prioritizing quality over cost for the best long-term results.
Budgeting for Repairs and Replacements

Budgeting for greenhouse repairs and replacements can save you from unexpected financial strain down the line.
Repair costs can range from $375 to $3,000, with materials averaging $5 to $25 per square foot. Professional labor varies too, costing $50 to $100 per hour, and specialized work can add even more.
Consider the size and complexity of your greenhouse; larger or more intricate structures will cost more to repair. Regular maintenance can help extend the lifespan of your covers, but you should still allocate funds for potential replacements every one to four years.
Adapting to Environmental Conditions
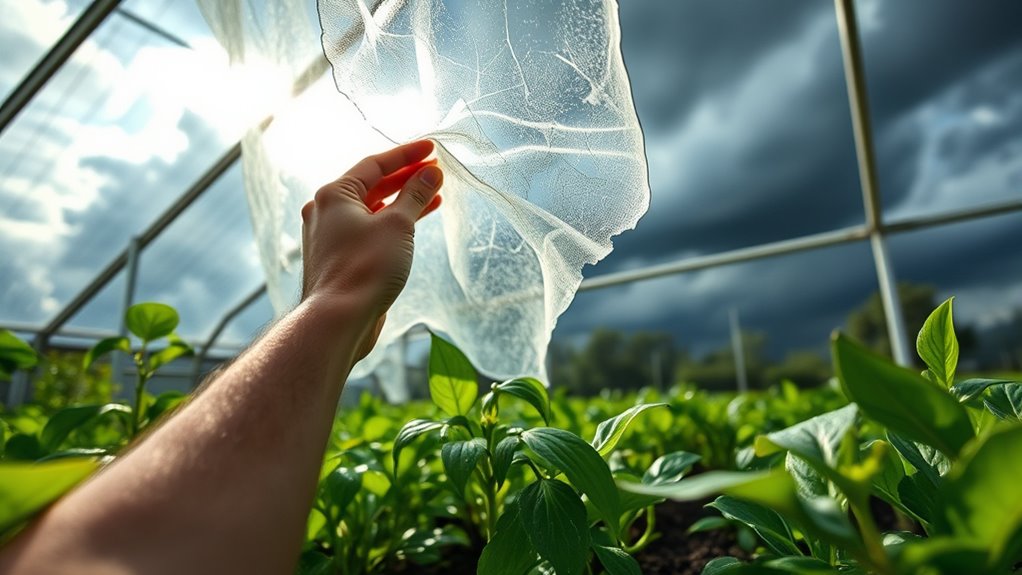
Adapting your greenhouse to environmental conditions is essential for optimizing plant growth and guaranteeing long-term success.
In arid regions, using NIR-reflecting plastic films can help reduce heat loads and prevent overheating. You'll want to take into account the solar radiation transmission of your covering materials, as this directly impacts plant health.
During summer, employing shading techniques and whitening the roof can effectively lower temperatures. In areas prone to extreme weather, make sure your coverings can withstand strong winds, hail, and snow loads.
Employ shading techniques and roof whitening to reduce summer temperatures and ensure your greenhouse withstands extreme weather conditions.
Additionally, prioritize durability and sustainability by integrating water conservation methods and complying with local environmental regulations. Implementing backyard greenhouse strategies can further enhance your greenhouse's resilience and efficiency.
Frequently Asked Questions
How Long Do Repairs Typically Last on Greenhouse Coverings?
Repairs on greenhouse coverings typically last anywhere from one to four years, depending on various factors.
You'll find that the quality of materials you choose plays a crucial role, along with environmental conditions and maintenance practices.
If you regularly inspect and maintain your greenhouse, you can greatly extend the life of those repairs.
Keeping an eye on structural integrity and weather impacts will also help guarantee your repairs hold up over time.
Can I Use Duct Tape for Greenhouse Repairs?
Sure, you can use duct tape for greenhouse repairs—if you enjoy playing a game of chance with your plants!
While it might seem like a quick fix, duct tape isn't made for the job. Its adhesion falters under humidity and fluctuating temperatures, leading to more headaches than solutions.
Instead, consider specialized greenhouse repair tape. It's designed for the task, offering better durability and weather resistance, keeping your plants safe and thriving.
Is It Safe to Use Glass Panels in Greenhouses?
Using glass panels in greenhouses can be safe if you take precautions.
Verify you choose tempered or safety glass to minimize the risk of sharp shards if breakage occurs.
Keep in mind that while glass offers excellent light transmission, it can break under extreme weather or impact.
Regular maintenance is essential for clarity and safety.
Weigh the benefits against costs and consider alternatives like polycarbonate for better durability and insulation.
What Tools Do I Need for Greenhouse Repairs?
When you tackle greenhouse repairs, it's surprising how many tools you actually need.
You'll want tape and adhesives to seal up any damage, cutting tools like utility knives for precise cuts, and cleaning equipment to prep the surface.
Don't forget fasteners, clamps, and measuring tools to guarantee everything fits perfectly.
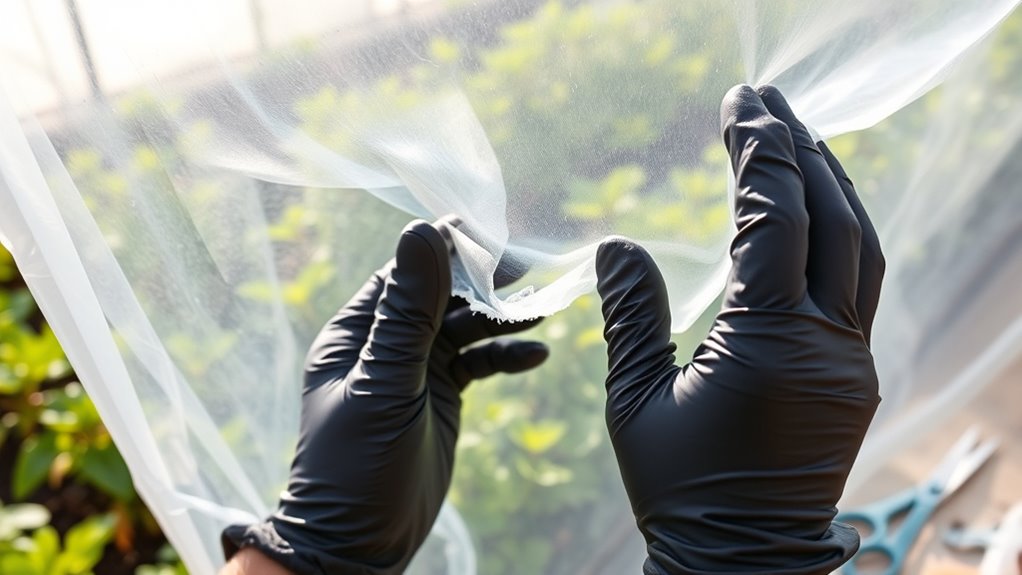
Safety gear, like gloves and goggles, is essential too.
With the right tools, you'll find repairs become more manageable and even enjoyable!
Are There Any Eco-Friendly Repair Materials Available?
Yes, there are plenty of eco-friendly repair materials available that you can use.
Consider recycled plastic tapes and UV-resistant glazing for durability. Weatherproof sealants help protect against harsh conditions, while sustainable adhesives like acrylic polymers provide strong bonds.
Additionally, using durable framing materials such as galvanized steel and rot-resistant lumber guarantees your repairs are effective and environmentally friendly.
These options not only extend the life of your structures but also support sustainable gardening practices.
Conclusion
So, you've patched up your greenhouse like a pro, but let's face it—if your covering looks like it survived a tornado, it might be time to let it go. After all, plants aren't exactly fans of "vintage" aesthetics. Investing in a solid replacement isn't just wise; it's a fashion statement for your garden. Who knew that keeping your plants happy could also turn you into the trendsetter of the horticultural world? Greenhouse chic is in, after all!
