To check and replace polyethylene covers, regularly inspect for cracks, tears, discoloration, or thinning spots. guarantee the cover fits snugly and is properly secured to prevent damage from wind or weather, and fix minor issues immediately to avoid bigger problems. When replacing, carefully remove the old cover, clean support structures, and choose a UV-inhibited, durable material for longevity. To keep your cover performing at its best, learn the tips that can help you extend its lifespan.
Key Takeaways
- Regularly inspect covers for cracks, tears, discoloration, and thinning spots to detect early damage.
- Ensure covers are properly tensioned and securely fastened during installation to prevent sagging and tearing.
- Carefully remove old covers, avoiding damage, and clean support structures before installing new polyethylene covers.
- Choose high-quality polyethylene with UV inhibitors and appropriate thickness for longer-lasting protection.
- Perform routine maintenance and prompt repairs to extend cover lifespan and maintain effective asset protection.
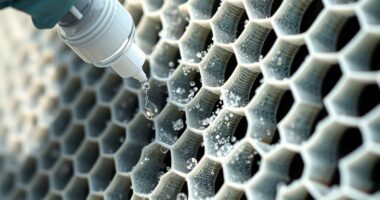
Have you ever wondered how to keep your polyethylene covers in top condition? Maintaining these covers is vital for protecting your crops, equipment, or storage areas from the elements. The first step is understanding the importance of the cover material itself. Polyethylene is popular because it’s lightweight, durable, and cost-effective. However, over time, exposure to sunlight, wind, and weather can cause it to deteriorate. Cracks, tears, or thinning spots can compromise its effectiveness. Regularly inspecting the cover material helps you catch issues early, preventing costly damage or loss. When checking, look for signs of brittleness, discoloration, or holes. Even small tears can expand rapidly, so it’s best to address them immediately. Incorporating performance metrics into your maintenance routine can help you monitor the longevity of your covers and plan timely replacements.
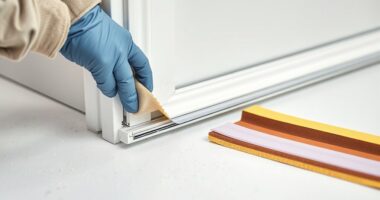
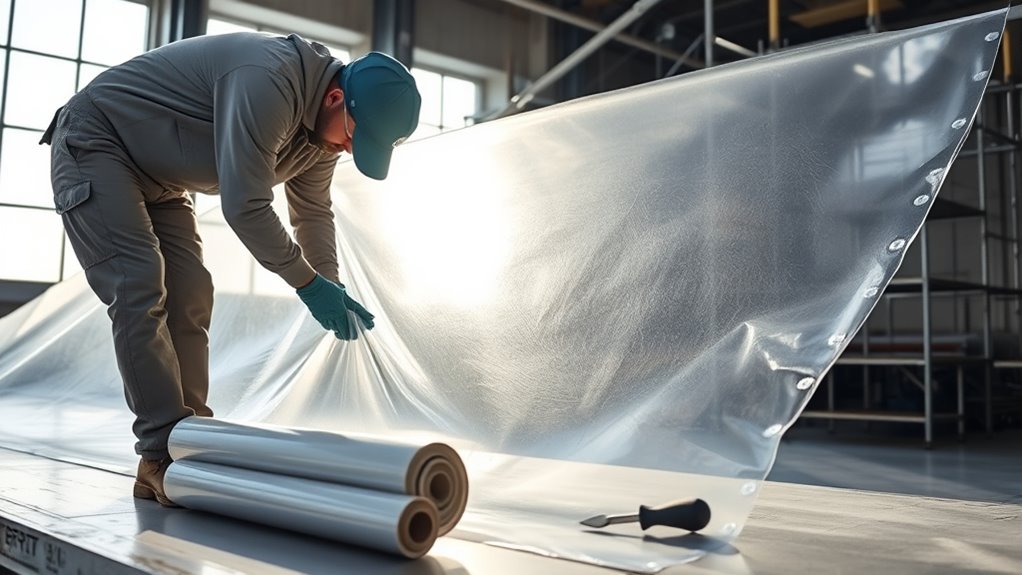
Cover installation is equally essential. Proper installation ensures the cover material fits snugly and stays secure against wind or rain. When installing a new polyethylene cover, you want to make sure it’s stretched tight without overstretching, which can weaken the material. Use appropriate fastening methods such as ropes, clips, or weights to keep the cover in place. Tensioning the cover correctly minimizes sagging, which can pool water or promote tearing. Be sure to secure the edges well, especially around corners and seams, to prevent wind from lifting or ripping the cover. Proper cover installation isn’t just about putting it on; it’s about doing it in a way that maximizes its lifespan and effectiveness. If you’re replacing an old cover, remove it carefully, avoiding unnecessary tearing or damage. Clean the frame or support structure beforehand, so the new cover material can be installed smoothly and securely.
When it’s time for a replacement, selecting the right cover material is key. Opt for high-quality polyethylene designed for outdoor use, with UV inhibitors that help prolong its lifespan. Consider the thickness of the cover—thicker material tends to last longer but may be heavier and more challenging to handle. Once you’ve chosen the right cover material, follow proper cover installation procedures to ensure it remains effective for as long as possible. Regular inspections are your best tool for maintaining the integrity of your polyethylene covers. Catching issues early allows you to make simple repairs or replace the cover before more extensive damage occurs. With diligent care, your covers will continue protecting your assets effectively, saving you time and money in the long run.
Frequently Asked Questions
How Often Should Polyethylene Covers Be Inspected for Damage?
You should inspect your polyethylene covers at least once every three months to guarantee their cover lifespan isn’t compromised. Regular inspections help you spot damage like tears, holes, or signs of wear early on. If you notice any issues, replace the cover promptly to maintain protection. Keeping a consistent inspection schedule helps extend the cover’s effectiveness and prevents costly repairs or replacements down the line.
What Tools Are Recommended for Removing and Replacing Covers?
You should use utility knives or scissors for cover removal, carefully applying cover removal techniques to avoid damage. When replacing covers, opt for durable replacement material options like high-grade polyethylene or reinforced covers. Use gloves for safety, and gently lift the old cover to prevent tears. Secure the new cover tightly, ensuring it’s properly aligned. Proper tools and techniques make the process efficient and help extend the cover’s lifespan.
Can Polyethylene Covers Be Repaired Instead of Replaced?
You can sometimes repair polyethylene covers, but their material longevity often guarantees effectiveness. Small tears or holes might be patched with specialized repair kits or duct tape, using effective repair techniques. However, these fixes are usually temporary, and for longer-lasting protection, replacing the cover is often the better choice. If the damage is extensive, investing in a new cover ensures durability and maintains the integrity of your setup.
Are There Environmental Considerations When Disposing of Old Covers?
When disposing of old polyethylene covers, you should consider recycling options to reduce environmental impact. Many recycling facilities accept polyethylene, helping prevent waste from ending up in landfills. By choosing proper disposal methods, you minimize pollution and support sustainability efforts. Always check local regulations and recycling programs, as improper disposal can harm ecosystems. Recycling your old covers is a responsible choice that benefits the environment and promotes eco-friendly practices.
What Are Signs of UV Degradation in Polyethylene Covers?
Think of your polyethylene cover as a fading photograph. When you notice UV deterioration, the cover often shows cover discoloration, turning dull or uneven. Cracks, brittleness, and a loss of transparency also signal damage from prolonged sun exposure. These signs indicate the material’s protective layer is breaking down, compromising its effectiveness. Catching these early helps you decide when to replace the cover before it fails and exposes what’s underneath.
Conclusion
Remember, a stitch in time saves nine. Regularly checking and replacing your polyethylene covers guarantees your equipment stays protected and lasts longer. Don’t wait until minor issues turn into costly repairs—stay proactive. Keep an eye on wear and tear, and act promptly when needed. By doing so, you’ll maintain ideal conditions and save yourself time and money. Ultimately, consistent care keeps your investments safe, proving that prevention is always better than cure.