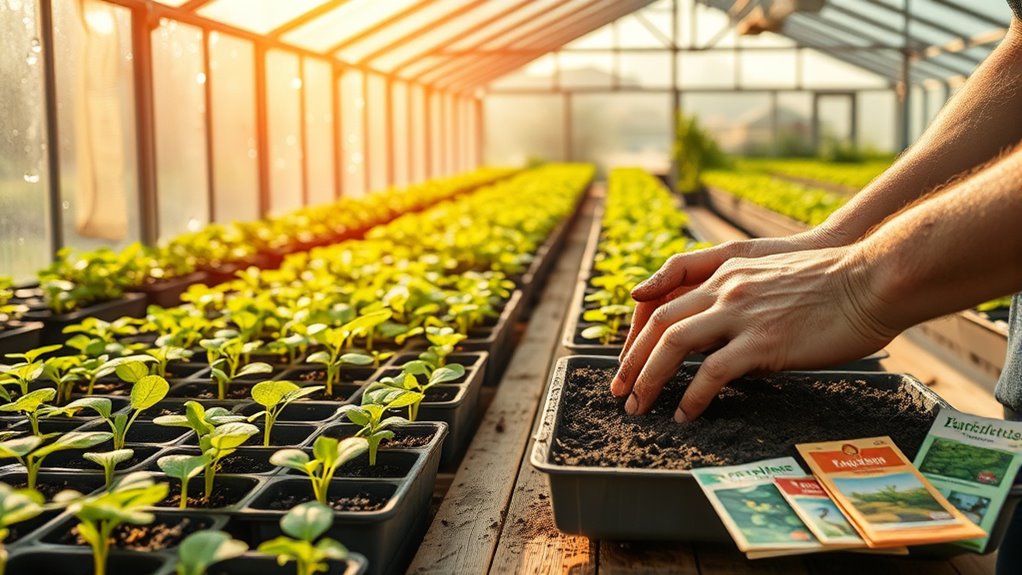
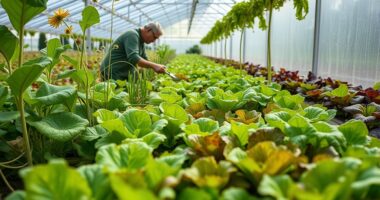
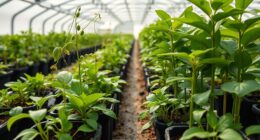
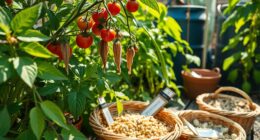
Starting seeds in your greenhouse is a fantastic way to kick off your gardening adventure. Begin by choosing seeds suited for your climate, ensuring they'll thrive. Gather essential supplies like seedling trays and a lightweight mix for germination. Prepare the greenhouse environment by controlling temperature and humidity. With proper soil preparation and care, your seedlings will flourish. Keep an eye out for challenges, and you'll soon be ready to transplant your healthy plants into the garden!
Key Takeaways
- Choose seeds suitable for your climate, considering local conditions like rainfall and soil type for successful germination.
- Prepare soil using a lightweight seed starting mix with added organic matter for nutrients and moisture retention.
- Create an optimal greenhouse environment with proper ventilation, light management, and temperature control for seedling growth.
- Water seedlings consistently using bottom watering and monitor moisture levels to prevent over or under-watering.
- Regularly maintain your greenhouse by cleaning, inspecting for pests, and adapting care routines based on seasonal changes.
Choosing the Right Seeds for Your Climate
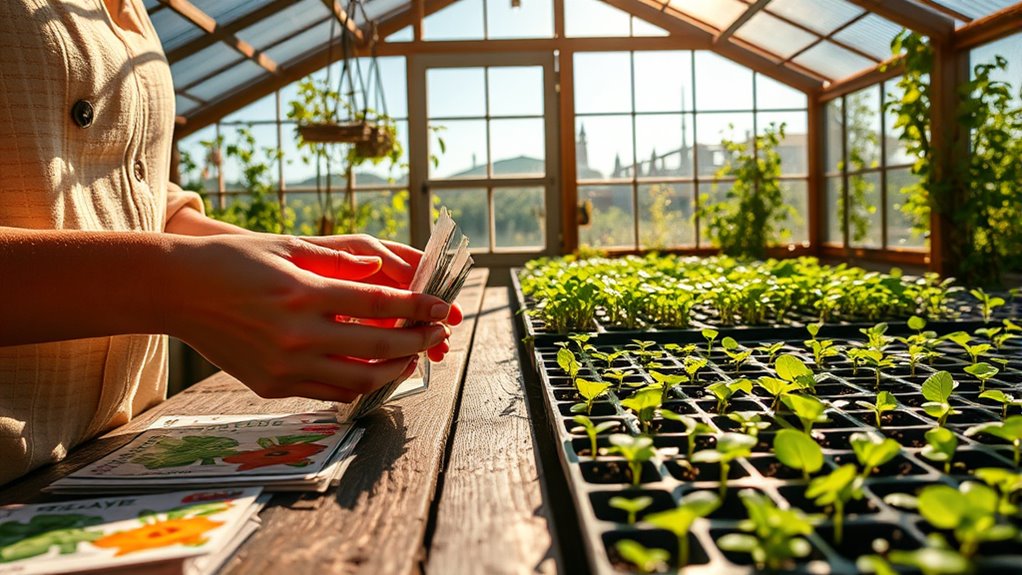
How can you guarantee your seeds thrive in your specific climate? Start by understanding your climate zone—whether it's tropical, temperate, or arid. Each zone has unique frost dates and temperature ranges that dictate your seed choices.
Understanding your climate zone is essential for selecting the right seeds and ensuring their success.
For instance, if you live in a cold climate, opt for cold-hardy seeds to withstand those early frosts. In warmer areas, choose slow-to-bolt varieties to prevent premature flowering.
Also, consider local conditions like rainfall and soil type; sandy soils drain quickly, while clay retains moisture.
Finally, look for disease-resistant seeds tailored to your region. By selecting seeds that align with your climate, you'll maximize germination and guarantee healthy growth throughout the season.
Essential Supplies for Seed Starting
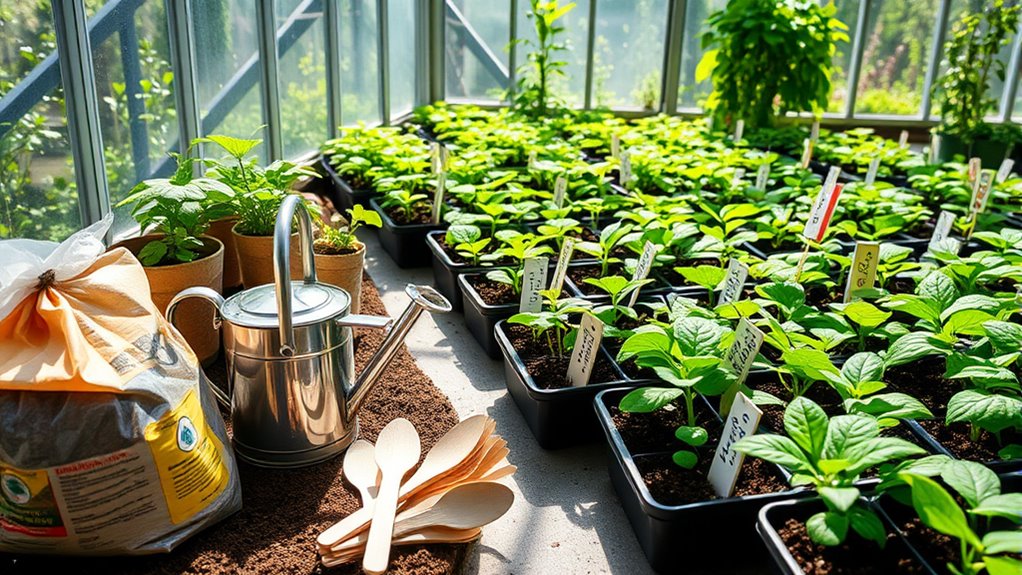
Selecting the right seeds for your climate sets the foundation for successful gardening, but having the right supplies for seed starting is just as important.
Start with essential containers like seedling trays, mini pots, or biodegradable pots to minimize root disturbance during transplanting. Choose a lightweight seed starting mix designed for peak germination, avoiding dense garden soil. Consider using unique planter designs as part of your setup to enhance both functionality and aesthetics.
For lighting, invest in grow lights with full-spectrum bulbs and consider using heat mats for consistent warmth. Manage watering with filtered water or rainwater, and use humidity domes to retain moisture.
Don't forget fans for air circulation and labels to track your seedlings. Additionally, consider incorporating a greenhouse environment that can help regulate temperature and humidity for optimal growth. With these supplies, you'll set yourself up for a thriving greenhouse garden.
Preparing Your Greenhouse Environment
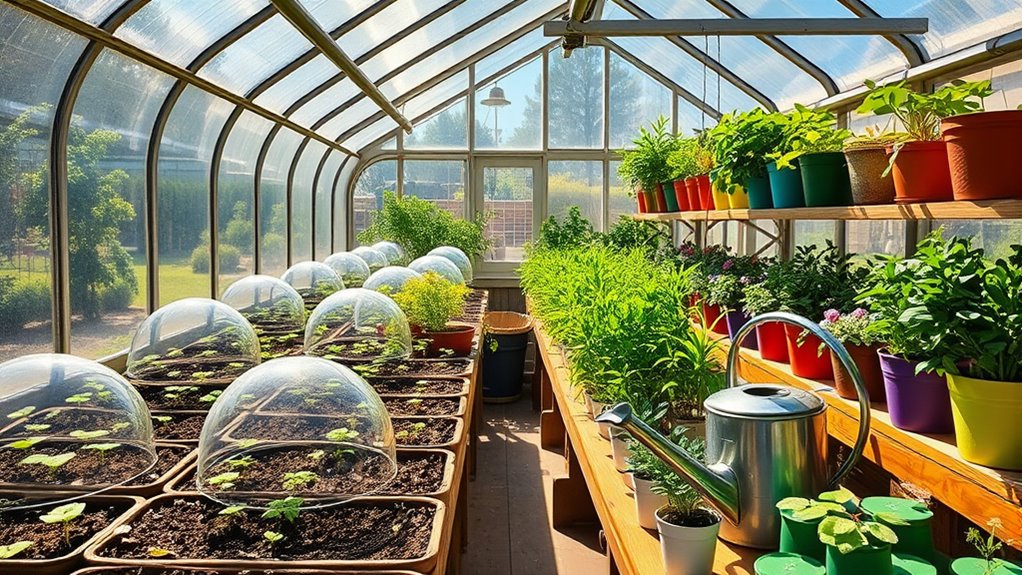
As you prepare your greenhouse environment, it's important to evaluate factors like climate, ventilation, and layout to create an ideal space for your seedlings.
Choose a greenhouse type that suits your local climate—insulated for colder areas or ventilated for warmer ones. Use materials like glass or reflective surfaces to manage light and temperature effectively.
Selecting the right greenhouse type for your climate is essential for optimal seedling growth.
Guarantee proper ventilation to maintain peak humidity and temperature levels. Clean your greenhouse by removing debris and disinfecting surfaces with a bleach solution, rinsing thoroughly afterward.
Monitor temperature and humidity with thermometers and hygrometers, and consider using heating mats or mist systems to create the right conditions.
A well-prepared greenhouse sets the foundation for healthy seedling growth.
Soil Preparation for Seed Planting
Proper soil preparation is essential for successful seed planting, and choosing the right mix can make all the difference. Opt for a seedling mix specifically designed for germination, avoiding dense outdoor soil that may harbor pathogens.
Make certain your mix includes materials like perlite or vermiculite for improved drainage and aeration, vital for healthy root development. Pre-moisten your soil until it resembles a wrung-out sponge, and gently fill your trays without over-compacting.
Consider adding organic matter like compost for nutrients and moisture retention. Keep in mind the ideal soil temperature for germination should be between 21-27°C (70-80°F).
With these steps, you'll create a thriving environment for your seeds to sprout and grow.
Planting Seeds: Techniques and Tips
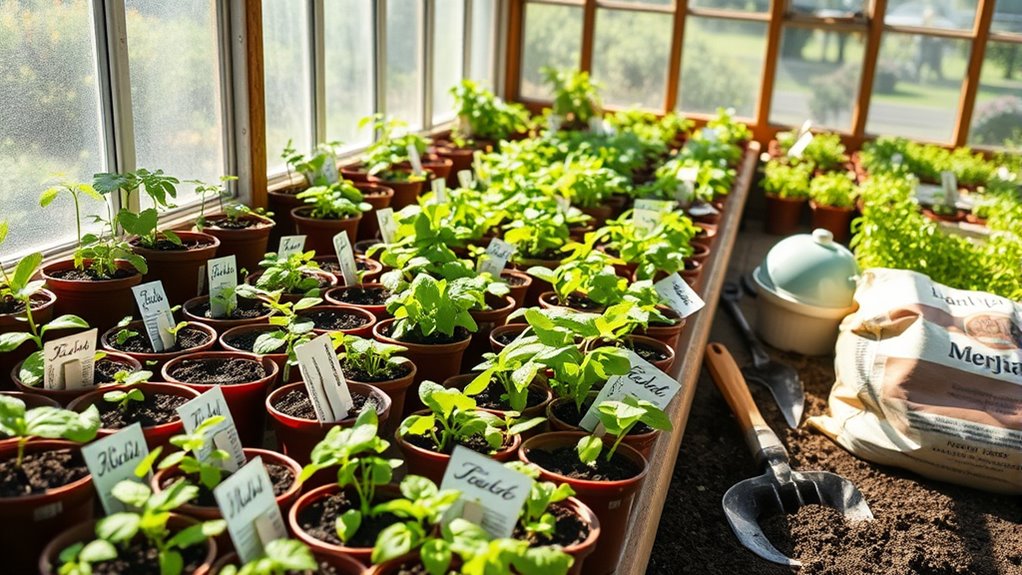
When it comes to planting seeds, choosing the right techniques can greatly boost your success rate. Start by selecting seeds that thrive in your local climate and suit your taste. Some seeds may need soaking or scarification before planting, so check their specific requirements.
Generally, plant seeds two to three times deeper than their width. Opt for seedling trays, mini pots, or even repurposed containers like egg cartons for planting. Timing is essential—start seeds 6-8 weeks before the last expected frost date.
Use a light seed starting mix, and label your containers for easy identification. Finally, guarantee consistent temperatures and adequate humidity for peak germination, setting you up for a thriving garden.
Managing Seedlings for Successful Growth
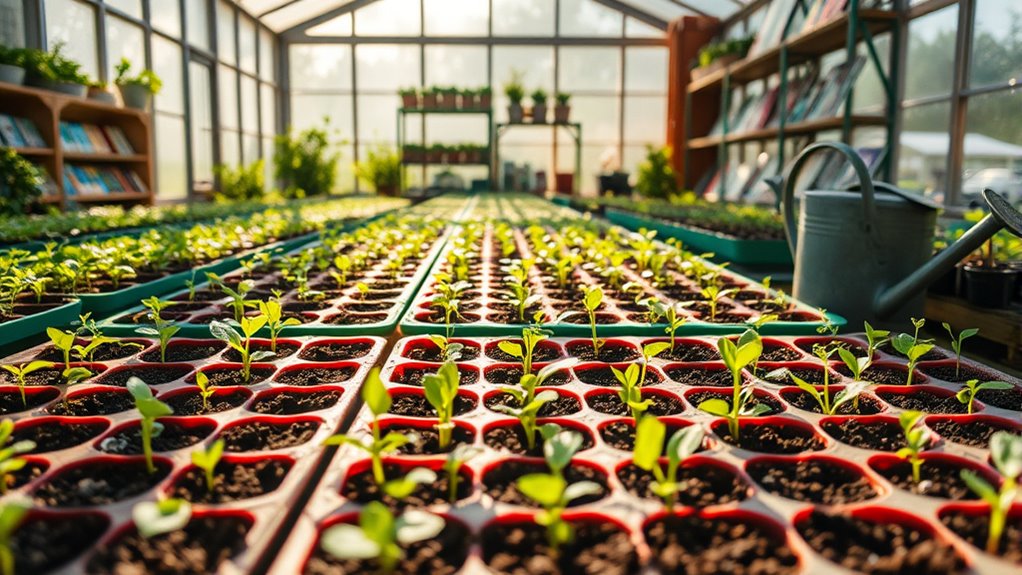
Managing seedlings effectively is essential to ensuring their healthy growth and development.
Provide your seedlings with plenty of light; if natural sunlight falls short, supplement it with grow lights, placing them a few inches above the plants. Rotate pots regularly to prevent any leaning.
For moisture, bottom watering works best; use a fine spray mister and check soil moisture with your finger, reducing watering as they mature.
Good air circulation is vital, so implement oscillating fans on low settings to avoid fungal diseases.
Start fertilizing once true leaves appear, using a diluted solution and gradually increasing concentration.
Finally, transplant seedlings when they're 2-3 inches tall, and remember to harden them off before introducing them to outdoor conditions.
Common Challenges in Seed Starting
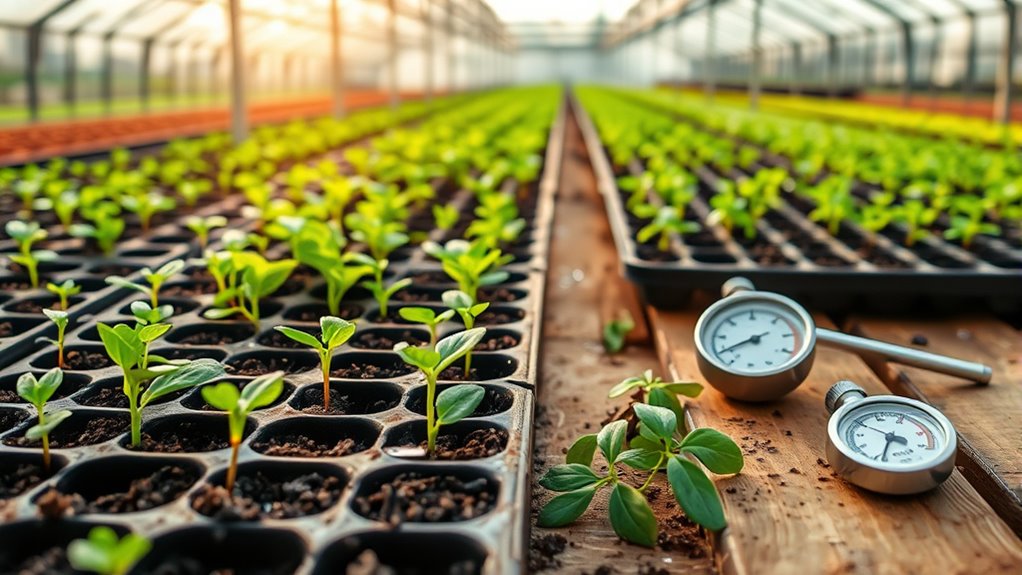
Starting seeds can be a rewarding endeavor, but you might encounter several challenges along the way. One major issue is incorrect timing; starting seeds too early can lead to overgrown seedlings, while starting too late may leave them too small for transplanting. You need to be aware of your area's last frost date for proper timing.
Environmental factors like insufficient light can cause leggy seedlings, so consider using grow lights. Soil quality is also vital; avoid dense native soil and opt for seed starting mixes.
Overwatering and underwatering can harm germination, so maintain consistent moisture. Finally, verify your seeds are fresh and suitable for your climate, as this greatly affects success rates.
Advanced Techniques for Improved Germination
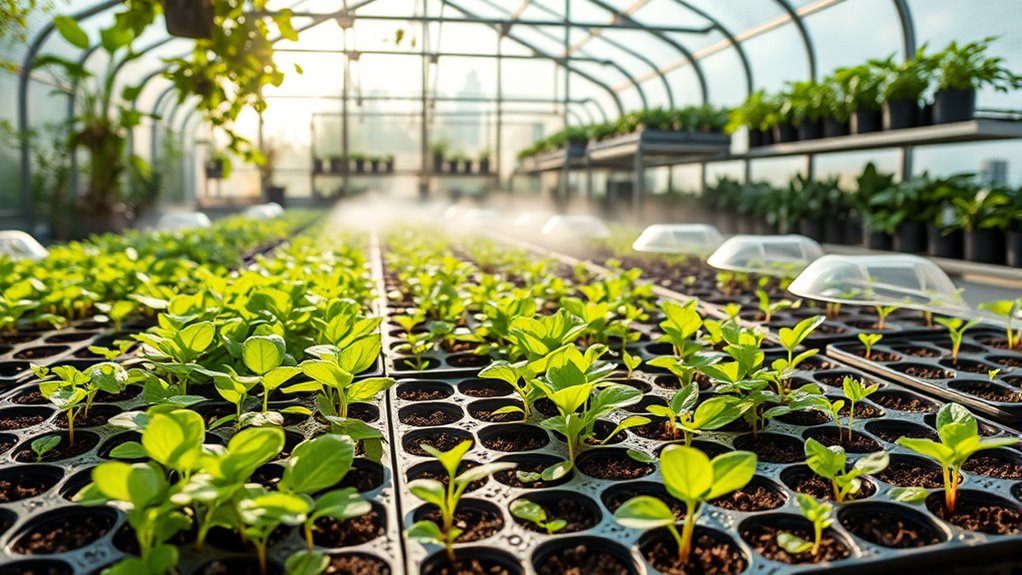
To achieve successful seed germination, employing advanced techniques can make a significant difference in your results.
Start by preparing seeds through scarification or imbibition, which can enhance germination rates. For seeds needing dormancy breaking, consider stratification based on their specific temperature needs. Always test older seeds for viability by soaking them in water.
Optimize your soil conditions by ensuring a pH of 5.7 to 6.2, using a well-draining mix, and maintaining moisture without compaction.
Manage environmental factors by keeping temperatures between 65-75°F and providing adequate lighting.
Finally, utilize germination chambers with bottom heat and proper ventilation to create an ideal environment.
These methods can greatly improve your seed starting success in the greenhouse.
Transplanting Seedlings: When and How
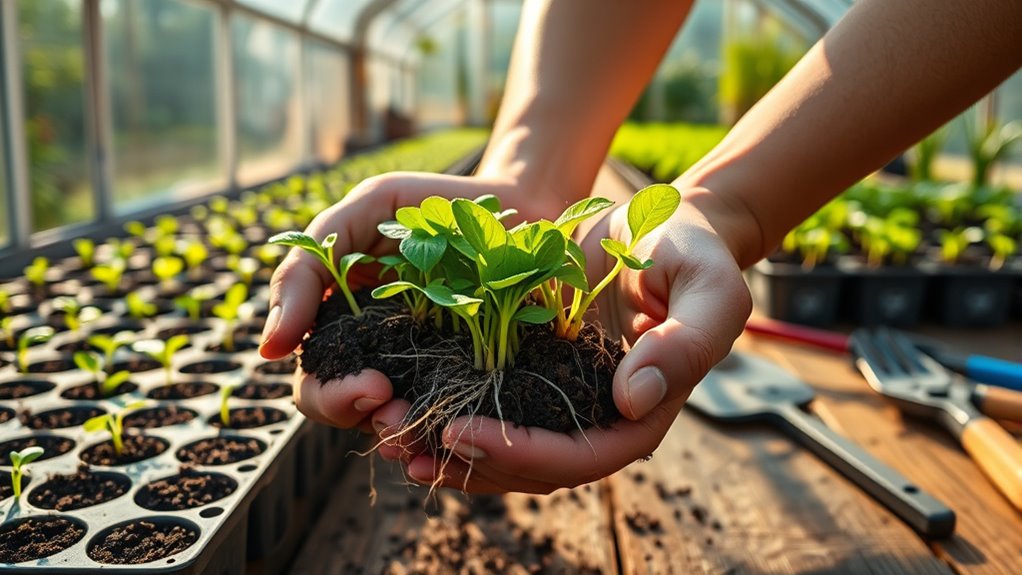
When you're ready to transplant seedlings, timing and technique are essential for their success. Transplant when your seedlings reach 2-3 inches tall and have developed two true leaves, usually 2-4 weeks after sprouting.
Choose a cool part of the day to minimize stress, and verify the soil is well-prepared, loose, and moist. Use a widger to gently lift the seedlings by their leaves, avoiding damage to the stems and roots. Keep the root ball intact during transfer.
Gradually acclimate your seedlings outdoors over 7-10 days to reduce transplant shock. After transplanting, water them thoroughly to guarantee good root contact with the soil, and monitor their growth closely for ideal results.
Maintaining Your Greenhouse Throughout the Season
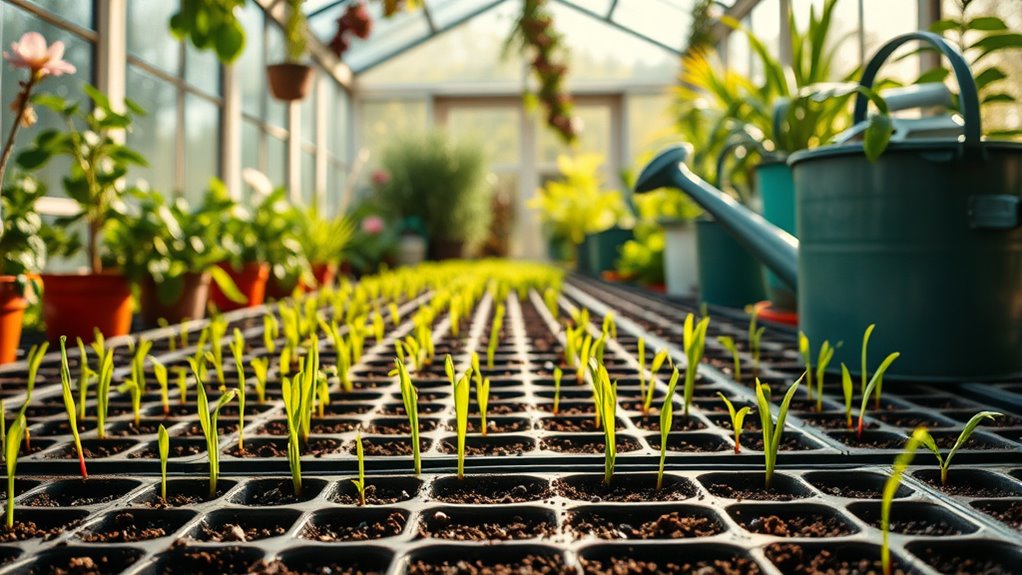
Maintaining your greenhouse throughout the season is essential for guaranteeing healthy plant growth and productivity.
Start by regularly cleaning to prevent pests and diseases; remove plant debris and disinfect surfaces with a non-toxic solution.
Monitor temperature and humidity with reliable tools, adjusting ventilation and using heaters or cooling systems as needed.
Inspect your plants frequently for signs of pests, employing biological controls and maintaining a weed-free environment.
Ascertain good air circulation by cleaning fans and vents.
At season's end, perform a deep clean, check for structural damage, and inspect your irrigation system.
Adjust shading materials according to seasonal light and calibrate your equipment to optimize performance.
Consistent maintenance keeps your greenhouse thriving and productive.
Frequently Asked Questions
How Do I Know When to Start My Seeds?
To know when to start your seeds, check your local last frost date.
For cool-season crops, aim to plant in late winter to early spring, while warm-season crops should be started indoors 6-10 weeks before that date.
Monitor day length and temperature, as most seeds need around 10 hours of daylight and temperatures between 75°F and 85°F for ideal growth.
Keep an eye on weather patterns to guarantee your timing's just right.
Can I Reuse Old Seedling Containers?
Absolutely, you can definitely breathe new life into old seedling containers!
Think of them as seasoned vessels, ready to nurture your next batch of plants. Just make sure they're clean and have proper drainage.
By reusing these containers, you're not only saving money but also giving your gardening efforts a sustainable twist.
What Are the Best Watering Practices for Seedlings?
When it comes to watering seedlings, you'll want to keep the soil consistently moist but not waterlogged. Pre-soaking the soil before planting helps, and using misting systems can maintain moisture without displacing seeds.
Watering during midday helps manage temperature fluctuations. Consider utilizing moisture sensors to tailor your schedule based on actual needs.
Finally, filtered or rainwater is best for avoiding harmful chemicals, ensuring your seedlings thrive.
How Often Should I Check for Pests?
You should check for pests at least once a week.
Regular monitoring helps you catch problems early before they escalate. Use sticky traps to identify common pests, and keep an eye on environmental factors like temperature and humidity, as they influence pest populations.
Don't forget to maintain detailed records of any sightings and control measures; this will guide you in future pest management efforts.
Staying proactive is key to a healthy growing environment!
What Is the Ideal Humidity Level for Seedlings?
The ideal humidity level for seedlings typically falls between 50% and 70%. This range promotes optimal germination and healthy growth.
You'll want to monitor these levels closely, as different seeds may have unique humidity needs. For instance, carrot seeds thrive at higher humidity levels.
Utilize misting systems or humidity domes to maintain appropriate conditions, and adjust as necessary to prevent diseases while ensuring your seedlings develop strong and healthy.
Conclusion
As you nurture your seeds in the greenhouse, think of yourself as a gardener-artist, painting a vibrant masterpiece of growth and life. Each seed is a brushstroke, waiting for the right conditions to flourish. By choosing wisely and tending to your greenhouse with care, you'll cultivate not just plants, but a thriving ecosystem. Remember, patience is your canvas, and with time, your efforts will bloom into a beautiful garden, ready to share its bounty with the world.
