To double your seed-starting capacity, upgrade to a space-saving, dual-level propagation rack that maximizes vertical space with adjustable shelves or stacking trays. Use lightweight materials like galvanized steel or quality wood for durability, and guarantee even lighting and good air circulation for healthy seedlings. Add smart watering systems to streamline irrigation. If you keep exploring, you’ll discover how to design, build, and troubleshoot your ideal setup for stronger, more successful starts.
Key Takeaways
- Design a dual-level, vertical propagation rack to maximize space and double seedling capacity efficiently.
- Use adjustable shelves and stacking techniques for flexible, space-saving setup.
- Incorporate uniform, adequate lighting to ensure even growth across both levels.
- Select durable, moisture-resistant materials for stability and longevity in various environments.
- Optimize airflow and watering systems to promote healthy seedlings and prevent disease.

Ferry Morse Plant Stand – Multi-Tier Seed Starting Station for Seedlings – Indoor – Bamboo
- Material: Premium bamboo for durability and natural look
- Design: Foldable, space-saving multi-tier structure
- Size: Over 3 feet tall, 12 inches deep
As an affiliate, we earn on qualifying purchases.
As an affiliate, we earn on qualifying purchases.
Why Doubling Your Seed-Starting Capacity Matters
Have you ever considered how much more efficient your gardening efforts could be if you doubled your seed-starting capacity? Expanding your setup allows you to produce more seedlings at once, giving you better control over seedling nutrition. With a larger propagation rack, you can provide ideal light, warmth, and watering, ensuring healthy growth. Plus, a bigger space helps you implement pest prevention measures more effectively, reducing the risk of infestations spreading across your seedlings. When you have extra capacity, you can isolate vulnerable plants and monitor them closely, minimizing disease and pest issues early. Digital concepts play a crucial role in designing adaptable and long-term structures for efficient seed-starting. Incorporating resilient landscaping principles into your setup can also enhance the durability and climate adaptability of your propagation area. Understanding material selection is essential for creating a sturdy and sustainable environment that can withstand varying weather conditions. Doubling your seed-starting capacity ultimately leads to healthier plants, higher success rates, and a more productive garden, making it a smart move for dedicated gardeners.
How to Evaluate Your Current Propagation Rack
Before expanding or upgrading your propagation rack, it’s vital to assess its current condition and capacity. Check if your seedling lighting provides even, adequate coverage without hotspots, ensuring healthy growth. Evaluate your watering systems: are they consistent and efficient, preventing over- or under-watering? Consider if your rack maximizes space or if plants are overcrowded, which could hinder airflow and growth. Use this table to guide your evaluation:
| Aspect | Good Condition | Needs Improvement | Notes |
|---|---|---|---|
| Seedling Lighting | Even, bright, covers all trays | Insufficient or uneven light | Adjust height or add supplemental lighting |
| Watering Systems | Consistent, easy to use | Inconsistent or inefficient | Upgrade to automated or better-designed systems |
| Space Utilization | Plants have adequate room | Overcrowded or wasted space | Reorganize for better airflow and growth |
| Overall Capacity | Meets current needs | Limits future expansion | Identify bottlenecks for upgrades |
Additionally, optimizing light distribution can significantly improve seedling health and growth rates. Properly assessing and adjusting these aspects can help you effectively scale your propagation efforts and ensure a successful growing season.
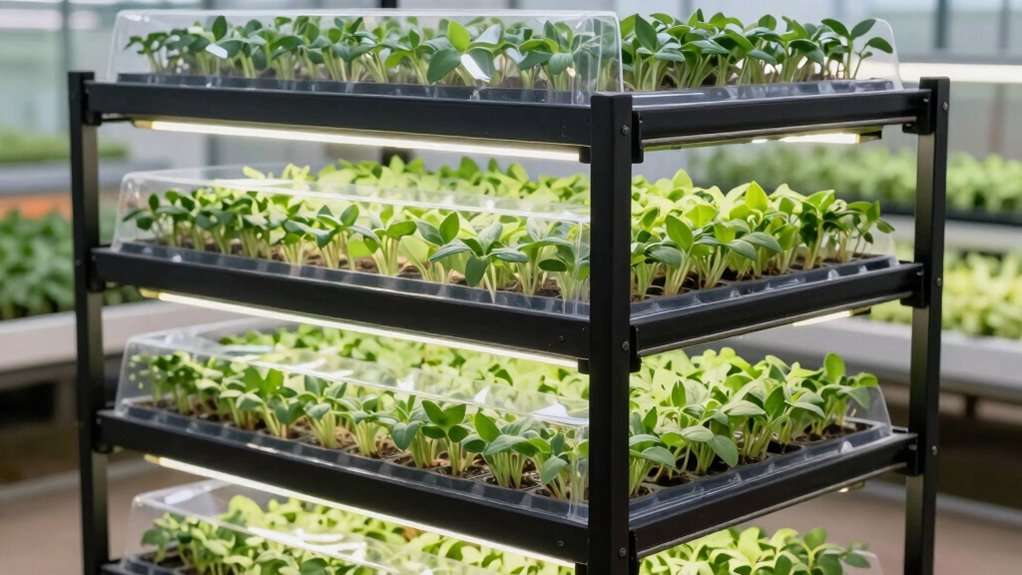
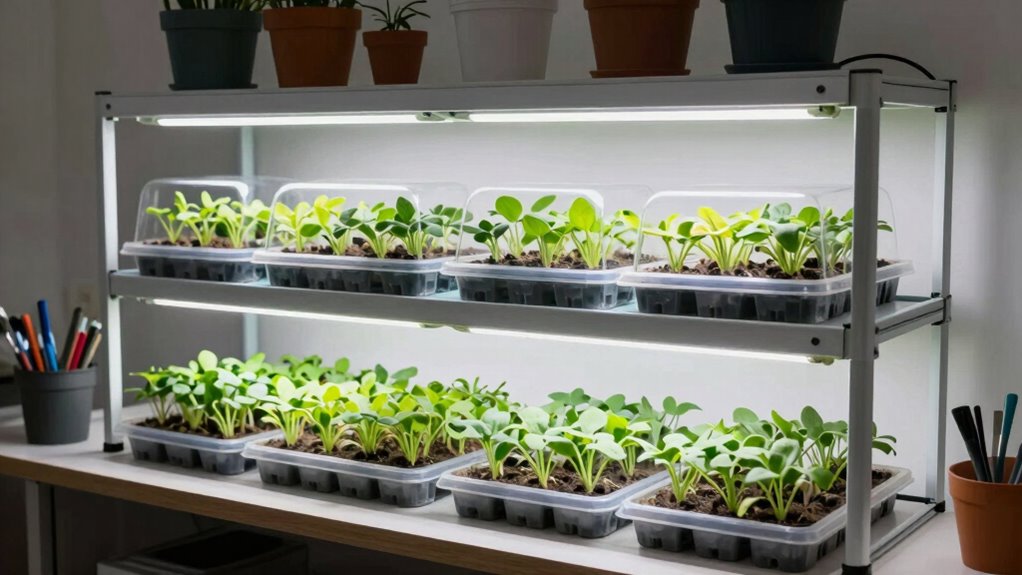
Designing a Space-Saving, Dual-Level Propagation Rack
To save space, focus on maximizing vertical storage in your propagation rack. A compact, dual-level design allows you to double your growing area without increasing your footprint. By carefully planning the layout, you can efficiently use your available space while keeping everything accessible. Incorporating lightweight structures can also make it easier to move and adjust your setup as needed. Additionally, considering space optimization techniques can help you make the most of your limited area. Implementing leash etiquette principles even in your setup can ensure safe and organized access to your plants. Using appropriate DIY tools and following safety tips can help you build a sturdy and secure rack that lasts for multiple seasons.
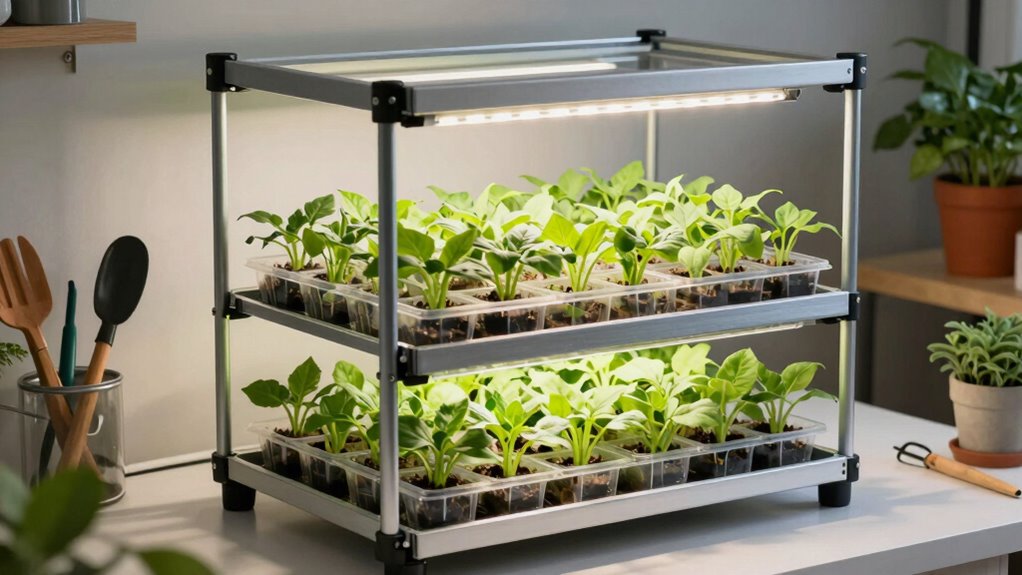
Maximizing Vertical Space
Are you making the most of your available space? Maximizing vertical space is key to boosting your seed-starting capacity. By stacking propagation trays or creating dual-level racks, you can considerably increase your growing area without expanding your setup. Use adjustable shelves to optimize lighting efficiency, ensuring all seedlings receive adequate light while preventing leggy growth. Position lights carefully to cover both levels evenly, reducing shadows and encouraging healthy development. A vertical setup also helps with pest prevention—keeping seedlings off the ground minimizes exposure to soil-borne pests and diseases. Remember, smart use of vertical space doesn’t just save room; it improves overall plant health and seedling vigor, giving you a more efficient and productive seed-starting operation. Incorporating space-saving design principles can further enhance your setup’s functionality and ease of access.
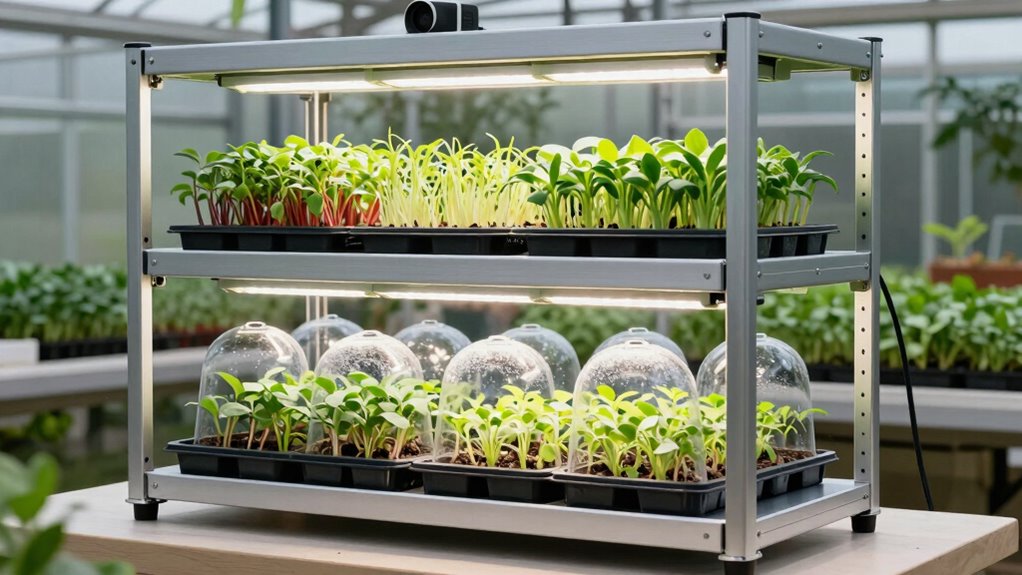
Compact Dual-Level Design
Creating a compact dual-level propagation rack is an effective way to maximize your available space without sacrificing functionality. By stacking two levels, you double your seed-starting area while keeping everything accessible. To guarantee healthy growth, pay close attention to lighting placement, making sure both levels receive even, adequate light. Use adjustable lights or reflectors to prevent shadows and promote uniform germination. Good air circulation is also essential; implement fans or ventilation gaps to prevent excess humidity and reduce disease risk. Keep airflow consistent across both levels to maintain a stable environment. A well-designed dual-level rack optimizes space, improves lighting efficiency, and supports healthy seedlings through proper air circulation, helping you get the most out of your seed-starting setup. Incorporating proper ventilation enhances airflow and helps prevent mold and disease.
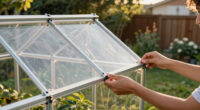
Choosing Materials and Tools for a DIY Rack Upgrade
When upgrading your propagation rack, selecting the right materials guarantees stability and durability without overspending. You’ll need essential DIY tools like saws, drills, and screws to assemble everything securely. Focusing on cost-effective options allows you to improve your setup efficiently without sacrificing quality. Incorporating high-quality gear can also enhance your overall setup and longevity. Additionally, considering appropriate materials ensures your rack remains sturdy over time and withstands frequent use. Being mindful of Victorian-inspired design elements can also add a unique aesthetic touch to your DIY project, blending functionality with style. Paying attention to material selection is crucial for achieving a balance between durability and visual appeal in your customized rack.
Optimal Material Selection
Choosing the right materials and tools is essential for ensuring your DIY rack upgrade is sturdy, durable, and easy to assemble. Focus on selecting materials with high material durability to withstand moisture, handling, and weight. For the frame, opt for sturdy options like galvanized steel, PVC pipes, or quality wood, which resist warping and corrosion. Consider aesthetic appeal, especially if your setup will be visible, by choosing materials that look clean and professional, such as painted wood or polished metal. Avoid cheap, flimsy alternatives that may bend or break over time. Prioritize materials that balance strength and appearance, ensuring your propagation rack remains stable and attractive through multiple growing seasons. Proper material selection makes your project reliable and visually appealing, setting the foundation for successful seed starting. Additionally, understanding material properties can help you choose the most suitable options for your specific environment and usage needs. Selecting materials with appropriate corrosion resistance is particularly important for outdoor or humid conditions, extending the lifespan of your rack. Considering environmental factors will further ensure the durability of your materials in your particular setting. Moreover, choosing materials that promote positive thoughts and intentions can enhance your overall gardening experience and motivation. Being aware of moisture resistance in your materials is crucial, especially in humid or water-prone areas, to prevent deterioration over time.
Essential DIY Tools
Selecting the right tools is just as important as choosing durable materials when upgrading your DIY propagation rack. You’ll need basic hand tools like a drill, screwdriver, and saw for assembly. A measuring tape guarantees precise cuts and placements, supporting ideal seedling growth. Clamps and a level help keep components steady and level during setup, ensuring even light distribution. A watering can or spray bottle makes watering techniques easier, preventing overwatering or uneven moisture. Sharp scissors or pruning shears are useful for trimming seedlings or mesh. Investing in quality tools saves time and guarantees your rack is sturdy and safe. With the right tools, you’ll improve efficiency and create a reliable setup that supports healthy seedling growth from the very start.
Cost-Effective Upgrades
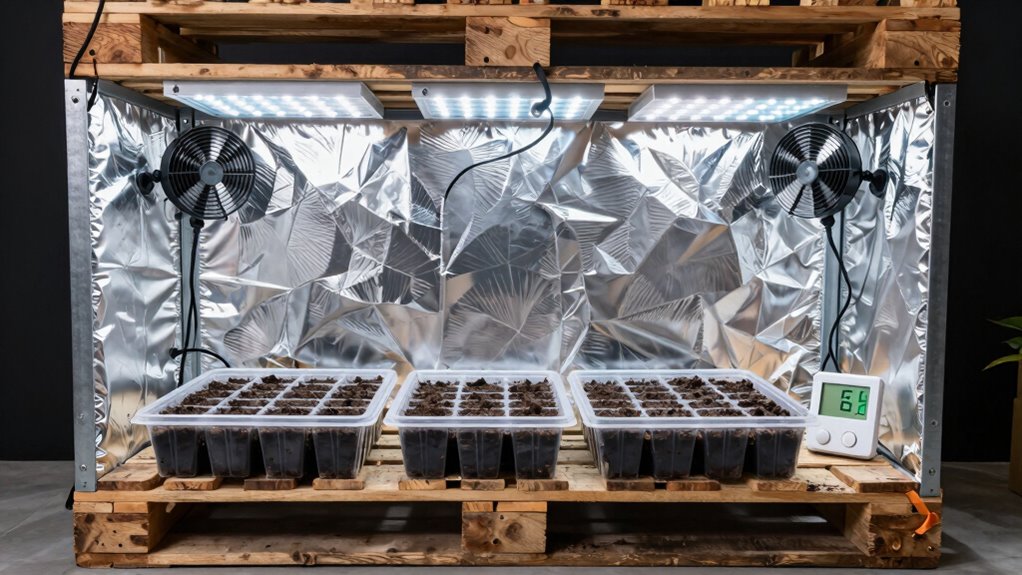
Upgrading your DIY propagation rack doesn’t have to break the bank; you can achieve effective improvements by focusing on affordable materials and tools. Use inexpensive shelving options like repurposed or lightweight metal racks, and add reflective surfaces such as foil or white paint to enhance light distribution. For watering schedules, inexpensive drip trays or DIY self-watering systems help maintain consistent moisture without overspending. When selecting materials, consider the seedling genetics you’re working with; sturdier supports benefit larger, more delicate plants. Simple upgrades like adjustable heights or better ventilation can be made with basic tools. These cost-effective enhancements ensure your seedlings grow strong, healthy, and well-supported, maximizing your seed-starting capacity without draining your wallet. Incorporating smart furniture elements, such as modular or adaptable components, can further optimize your space and functionality.
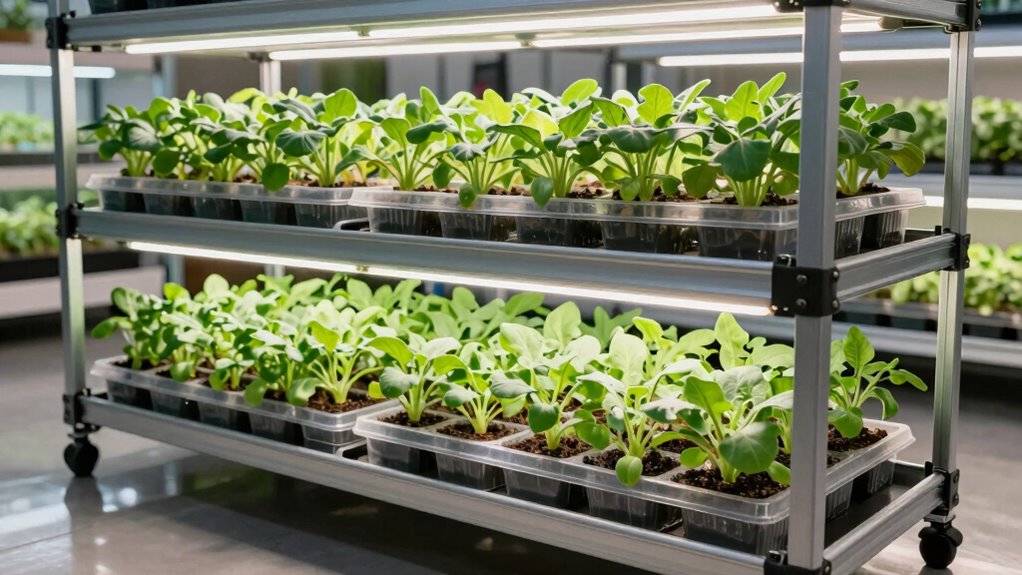
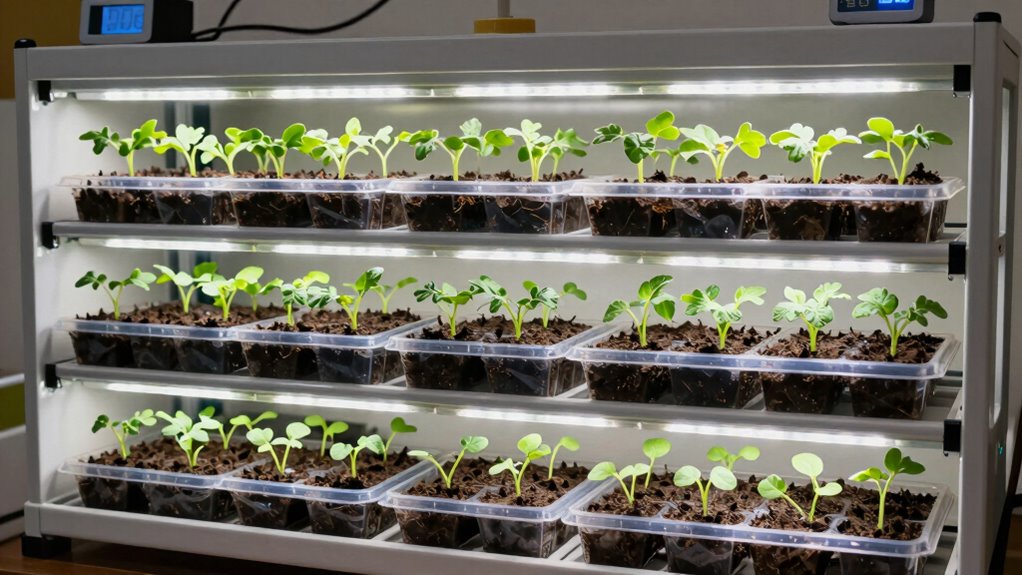
How to Modify Your Rack for Extra Capacity
To increase your rack’s capacity, start by evaluating its current structure and identifying areas where extra space can be added. You might consider stacking shelves or adding adjustable dividers to maximize vertical space. Upgrading your seedling lighting guarantees all plants receive adequate light, even with increased capacity. Incorporate efficient watering systems, like drip trays or automated misters, to handle more seedlings without extra effort. Additionally, integrating natural filtration systems can help maintain water quality sustainably as your setup expands. Proper water management is essential to support healthy growth as you scale up your seed-starting operation. Here’s a quick guide:
| Modification | Benefit |
|---|---|
| Add shelves | More space for trays or pots |
| Use adjustable dividers | Flexibility for different seed types |
| Upgrade lighting | Better coverage for all seedlings |
These modifications help you double your seed-starting capacity without compromising plant health.
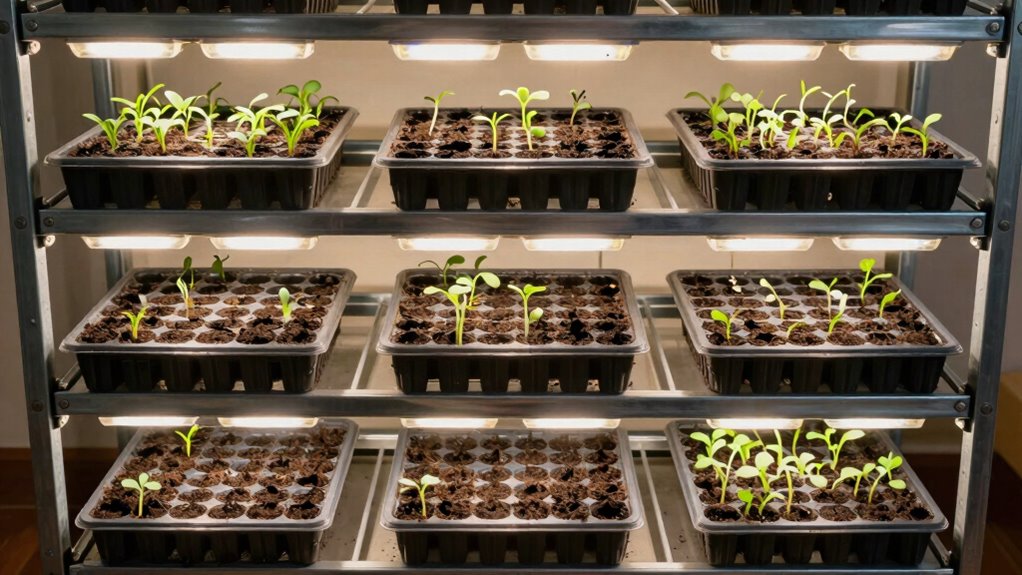
Tips for Keeping Seedlings Healthy in a Larger Setup
Expanding your seed-starting setup means more seedlings, but it also requires careful attention to their health. To prevent disease, start with soil sterilization—use heat or a disinfectant to eliminate pathogens. This step guarantees your seedlings grow in a clean environment. Proper seedling lighting is essential; provide consistent, adequate light to promote strong, healthy growth. Use grow lights positioned correctly to avoid legginess or weak stems. Keep an eye on moisture levels, watering only when the soil feels dry, to prevent damping-off disease. Make certain good air circulation around your seedlings to reduce humidity and fungal issues. Regularly check for signs of stress or pests, addressing problems early. With these practices, your larger setup will yield robust, healthy seedlings ready for transplanting.
Troubleshooting Common Issues When Expanding Your Seed-Starting Space
As you increase your seed-starting space, unexpected issues can arise that disrupt healthy growth. Poor seedling nutrition may cause weak, spindly plants, so guarantee your seedlings receive balanced nutrients through proper fertilization. Watch for signs of deficiencies and adjust your feeding schedule accordingly. Pest management becomes more challenging as your setup expands; inspect seedlings regularly for pests like aphids or fungus gnats, and implement preventive measures such as sticky traps or natural predators. Overcrowding can also lead to poor air circulation, increasing disease risk, so space your seedlings adequately. Keep your environment clean and monitor humidity levels to prevent mold. Addressing these issues early helps maintain healthy seedlings and ensures your expanded seed-starting operation thrives.
Frequently Asked Questions
What Are the Best Lighting Options for a Larger Propagation Rack?
You should choose full-spectrum LED grow lights for a larger propagation rack. These lights provide the ideal light spectrum needed for seed germination and vegetative growth. LEDs are energy-efficient, produce less heat, and can be easily mounted above your racks. Make sure your grow lights offer adjustable brightness and coverage to evenly illuminate all seedlings, promoting healthy development and maximizing your seed-starting success.
How Can I Automate Watering for an Expanded Seed-Starting Setup?
Think of automating watering like setting up a reliable composting technique—once in place, it runs smoothly without constant oversight. You can use drip irrigation systems or timers linked to your watering cans to keep soil moist for ideal seed germination methods. This way, your expanded seed-starting setup stays consistently hydrated, freeing you to focus on other gardening tasks. Automation guarantees healthy seedlings, just like a well-managed compost provides rich nutrients.
What Safety Precautions Should I Take With a Bigger Propagation System?
You should prioritize safety by ensuring your rack material choices are fire-resistant and sturdy, reducing risks of collapse or fire hazards. Keep your seedling nutrition supplies stored safely, away from water sources and electrical equipment. Use grounded outlets and waterproof connectors to prevent electrical shocks. Always wear protective gear when handling fertilizers or chemicals, and keep your workspace well-ventilated. Regularly inspect your setup for stability and potential hazards to maintain a safe, productive environment.
How Do I Prevent Mold and Pests in a Larger Seed-Starting Area?
You prevent mold and pests by maintaining a clean, dry environment, and practicing soil sterilization regularly. Use pest barriers like fine mesh screens on vents and openings to block insects. Keep humidity low to discourage mold growth and guarantee proper airflow. Remove any debris or dead plant material promptly. By staying vigilant with sterilized soil, pest barriers, and good airflow, you create a healthy, pest-free seed-starting space.
What Is the Ideal Temperature and Humidity for a Doubled Capacity Rack?
You should keep the temperature around 65-75°F and humidity at 60-70% for ideal seedling nutrition and root development. Consistent warmth encourages strong root growth, while proper humidity prevents drying out or mold issues. Use a humidity dome or mist regularly, and monitor temperature with a thermometer. This balance ensures healthy seedlings, promotes vigorous root systems, and maximizes your doubled seed-starting capacity.
Conclusion
Now, with your doubled propagation rack, you’re basically running a seed-starting empire—think of your seedlings as tiny, ambitious royalty vying for throne room space. Just remember, more space means more watering, more light, and perhaps a bit of chaos. But hey, if your seedlings survive this glorious expansion, you’ve officially outgrown the “starter” phase. Welcome to the big leagues—where your green thumb reigns supreme, and every sprout dreams of being a towering monarch.