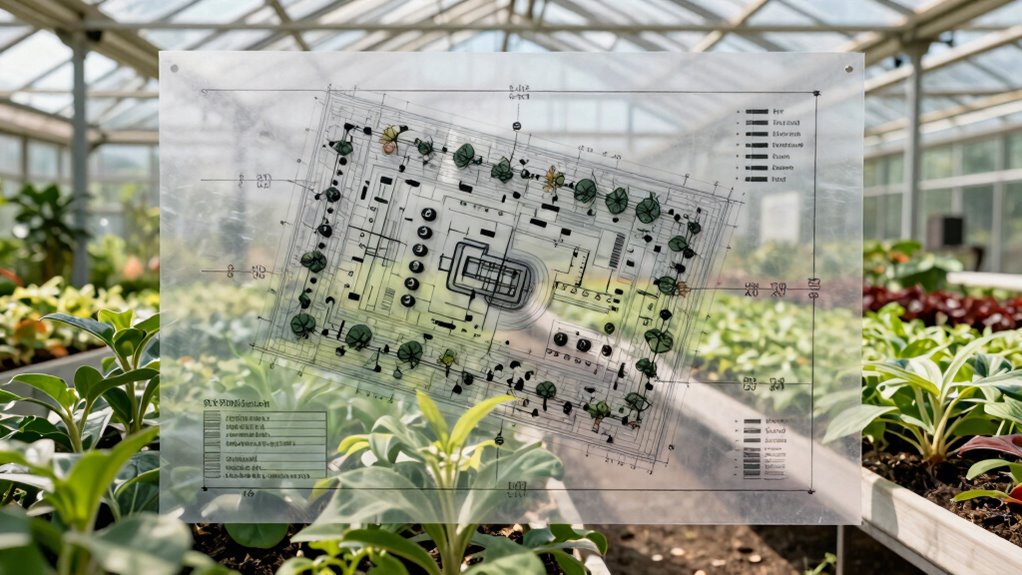
To map out your greenhouse with confidence, start with a detailed plan that considers plant needs and workspace flow. Group plants by light, water, and climate requirements, and assign zones based on natural sunlight. Arrange pathways for easy access and incorporate flexible setups like movable containers. Use strategic placement of vents and fans for airflow, and think ahead for seasonal changes. Keep exploring to discover more tips for creating a successful, regret-free design.

Get garden gear delivered free — and shop member deals
- Fast, free delivery on millions of items
- Access to Prime Big Deal Days deals on October 6–7
- Prime Video, Amazon Music and more included
Key Takeaways
- Create a detailed layout plan considering plant needs, growth habits, and environmental zones before arranging the space.
- Use scalable, flexible shelving and containers to adapt to plant growth and seasonal changes easily.
- Map out pathways and tool storage locations to ensure easy access and efficient workflow.
- Divide the greenhouse into lighting zones based on natural light and add adjustable grow lights for flexibility.
- Prioritize accessibility for maintenance tasks and incorporate airflow considerations to prevent issues like mold and pests.
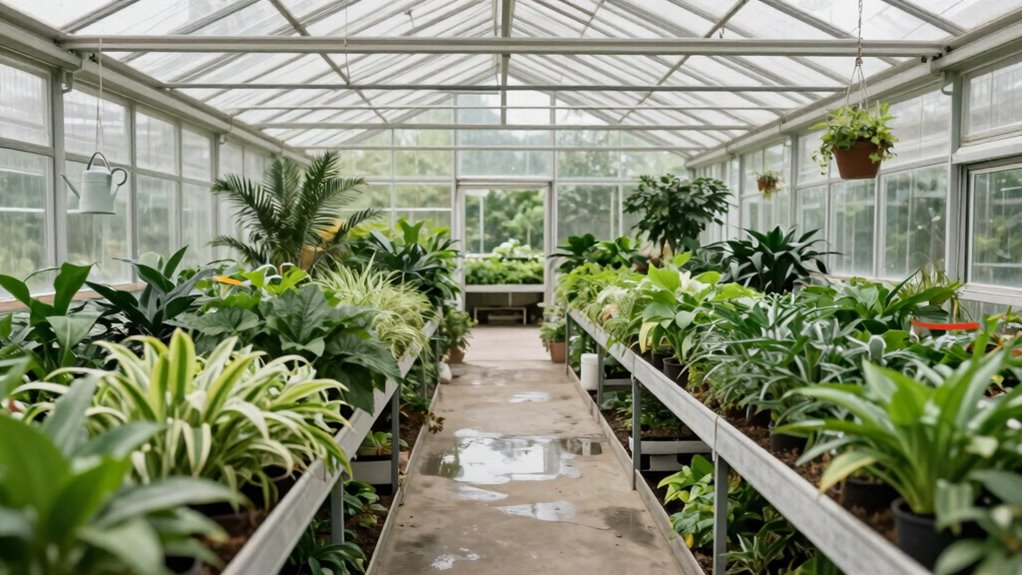
Planning your greenhouse interior can feel overwhelming, but with the right approach, you can create a layout that’s both functional and efficient. The key is to start with a clear plan that considers your plants’ needs and how you’ll work within the space. The best way to do this is by creating a detailed layout that incorporates biodiversity principles, ensuring a diverse and resilient plant collection. A good first step is to map out plant placement carefully. Think about each plant’s size, growth habits, and environmental requirements. Group plants with similar needs together, which simplifies watering, fertilizing, and climate control. For example, place high-light-demand plants near the south-facing windows or grow lights, while shade-loving plants can go in less exposed areas. This arrangement maximizes space and promotes healthy growth, preventing overcrowding and reducing the risk of disease.
Start with a clear plan, grouping plants by needs to optimize space and growth.
Next, consider lighting zones within your greenhouse. Different areas will receive varying amounts of natural light, so dividing the space into lighting zones helps you optimize plant placement. Use natural features, like windows or skylights, to define these zones. For zones with intense sunlight, position heat-sensitive or shade-preferring plants further away or add shading materials, like shade cloths, to prevent sunburn. Conversely, low-light zones can host plants that thrive in indirect or subdued light. Installing adjustable grow lights can supplement natural light and extend your growing season, especially in areas where sunlight is limited. When mapping out your interior, think about how these lighting zones will change with seasons and how to adapt your setup accordingly.
Efficiency is also about accessibility. Arrange pathways and shelves so you can easily reach all your plants for watering, pruning, and harvesting. Keep your most frequently cared-for plants in accessible spots, and group tools and supplies nearby to streamline your workflow. When planning the layout, consider the flow of movement—avoid cluttered pathways that can make tending to your plants frustrating. Using modular shelving or movable containers gives you flexibility to adjust your layout as your collection grows or as seasons change.
Finally, don’t forget about airflow and humidity control. Proper plant placement and lighting zones influence airflow patterns, which are crucial for preventing mold and pests. Place fans and vents strategically, and position plants so they don’t block airflow. With a thoughtful plan that balances plant placement, lighting zones, accessibility, and environmental controls, you’ll create a greenhouse interior that’s not only functional but also a joy to work in. This careful mapping now saves you regret later, as your plants flourish and your greenhouse remains a well-organized, productive space.
As an affiliate, we earn on qualifying purchases.
Frequently Asked Questions
What Tools Are Best for Detailed Greenhouse Interior Mapping?
For detailed greenhouse interior mapping, you should use a combination of tools like a laser distance meter and a digital camera. These help you accurately mark plant positioning and define lighting zones. A tablet or mapping software can then visualize the layout, ensuring the best plant placement and light distribution. These tools make it easy to plan your greenhouse efficiently, reducing mistakes and maximizing growth potential.
How Can I Optimize Space for Different Plant Types?
Think of your greenhouse as a symphony—each plant needs its perfect note. To optimize space, plan plant placement based on their light needs, creating distinct lighting zones. Tall plants go in the back, shorter ones in front, and shade-loving species under filtered light. Adjust pathways and shelving to maximize airflow and accessibility. This careful arrangement guarantees healthy growth and a harmonious environment for all your plants.
What Safety Considerations Should I Keep in Mind During Mapping?
You should prioritize safety protocols when mapping your greenhouse, ensuring all pathways remain clear and accessible. Mark emergency exits clearly and keep them unobstructed at all times. Use non-slip flooring and secure any wiring or equipment to prevent accidents. Regularly check for hazards like sharp tools or unstable structures. By planning with safety in mind, you create a secure environment for yourself and your plants, reducing risks during setup and maintenance.
How Often Should I Update My Greenhouse Layout Plan?
You should update your greenhouse layout plan at least once a season, or when you notice changes like uneven plant growth or light distribution issues. Think of your plan as a living blueprint—adapting it keeps plant placement optimized and light evenly spread. Regular updates guarantee you respond to seasonal shifts, plant growth, or equipment changes, helping your greenhouse stay productive and thriving.
Can Digital Mapping Methods Improve Accuracy and Efficiency?
Yes, digital mapping methods like virtual reality and data analysis can substantially improve accuracy and efficiency. Virtual reality lets you explore and adjust your greenhouse layout in a 3D space, minimizing errors. Data analysis helps optimize plant placement and resource use, saving time. By integrating these technologies, you streamline planning, reduce mistakes, and create a more effective, adaptable greenhouse environment.
Conclusion
By planning your greenhouse interior carefully, you’re planting the seeds for success from the start. With a simple mapping method, you’ll avoid regrets and watch your space flourish like a well-tended garden. Think of your design as a blueprint for growth, guiding your plants and your passion to thrive together. Remember, a thoughtful plan is the sunshine that nurtures your green oasis—so take your time and let your vision blossom.
Halloween Picks
halloween
As an affiliate, we earn on qualifying purchases.