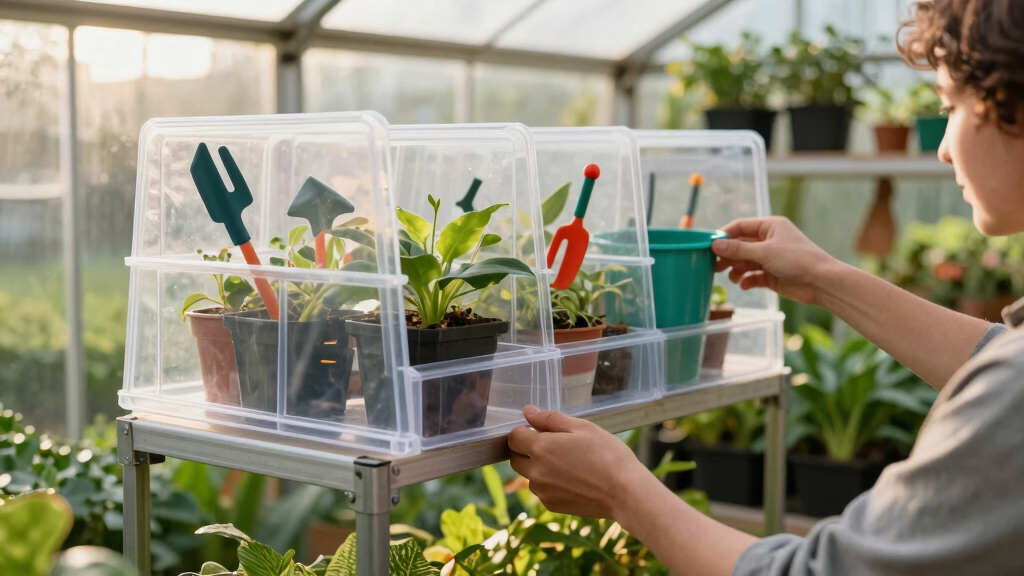

This guide provides clear instructions for organizing greenhouse shelving to maximize space and improve plant care. It is suitable for gardeners and greenhouse operators at all experience levels seeking practical, durable solutions for their shelving systems.
Difficulty: Intermediate | Time: 1-2 hours
What You’ll Need
Tools & Materials:
- measuring tape
- screwdriver or drill
- shelf brackets or adjustable shelving units
- storage bins or containers
- labels and markers
- cleaning supplies
Knowledge:
- basic understanding of shelving installation
- ability to measure space accurately
Clear the shelves before starting to evaluate current setup and determine what needs reorganization.

VEVOR Storage Shelving Unit 5-Tier Adjustable 2000 lbs Capacity Black
- High Load Capacity: 2000 lbs total, 400 lbs per shelf
- Durable Steel Construction: SPCC carbon steel with rust-resistant coating
- Easy Assembly: Press-to-assemble design with included tools
As an affiliate, we earn on qualifying purchases.
As an affiliate, we earn on qualifying purchases.
Before You Start
Ensure the greenhouse is well-ventilated and avoid working during the hottest part of the day. Wear gloves if handling sharp tools or cleaning agents.
Step-by-Step Instructions
Step 1: Assess current shelving layout
Remove all items from shelves and evaluate their condition and placement. Measure available shelf space and note any uneven or damaged shelving.
Tip: Create a diagram or sketch of your shelving layout and note current storage issues.
Check: You have a clear understanding of current shelf dimensions, damage, and storage needs.
Step 2: Sort and categorize plants and supplies
Group plants, tools, seeds, and supplies into categories such as herbs, flowering plants, tools, and soil amendments. Discard or donate items no longer used.
Tip: Use clear storage containers for small items like seeds or labels to keep everything visible and accessible.
Check: Items are grouped logically and easily accessible, with no clutter on the shelves.
Step 3: Choose appropriate shelving units or adjust existing ones
Select sturdy shelves that fit your measurements or adjust current shelves to optimize space. Install additional brackets or supports if needed.
Tip: Prioritize adjustable shelves for flexibility as plant sizes change over seasons.
Check: Shelves are stable, level, and suitable for the weight of stored items.
Step 4: Clean and prepare shelves
Wipe down all shelf surfaces with a damp cloth and a mild cleaner. Ensure they are dry before placing items back.
Tip: Cleaning prevents mold, pests, and dirt buildup that could harm plants.
Check: Shelves are spotless and dry, ready for organized storage.
Step 5: Arrange items on shelves systematically
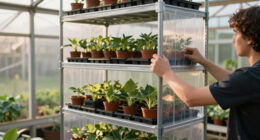
Place frequently used items at eye level or within easy reach. Store heavier items on lower shelves and lighter or delicate items higher.
Tip: Use labeled bins or trays to keep similar items grouped and easy to find.
Check: All items are organized logically, and accessibility has improved.
Step 6: Label storage containers and shelves
Use permanent markers to label bins, containers, and shelf sections clearly. Include categories like ‘Herbs’, ‘Tools’, or ‘Seeds’.
Tip: Consistent labeling helps maintain organization over time.
Check: Labels are clear, visible, and correctly placed, making it easy to locate items.
Step 7: Implement a maintenance routine
Set a weekly or bi-weekly schedule to tidy shelves, check for damaged items, and update labels as needed.
Tip: Regular maintenance prevents clutter buildup and keeps the system functional.
Check: Shelves remain organized, clean, and items are easy to access at all times.
Common Mistakes to Avoid
- Overloading shelves beyond their weight capacity — Check and adhere to the weight limits of your shelving units; distribute heavy items evenly.
- Ignoring label clarity or placement — Label all containers and shelf sections clearly and consistently for quick identification.
- Not cleaning shelves before reorganizing — Always wipe shelves clean to prevent mold, pests, and dirt from affecting plants and supplies.
- Storing incompatible items together — Keep items like chemicals or fertilizers separate from edible plants to prevent contamination.
Troubleshooting
Problem: Shelves are unstable or wobble
Solution: Check all brackets and supports; tighten or replace any loose or damaged parts.
Problem: Items fall or are hard to reach
Solution: Rearrange items based on frequency of use and adjust shelf heights as needed.
Problem: Mold or pests appear after organizing
Solution: Thoroughly clean shelves and containers; consider adding pest deterrents or improving ventilation.
What Success Looks Like
The shelves are fully organized with labeled containers, stable supports, and items grouped logically. Plants and supplies are easy to access, and the overall appearance is tidy and functional.
Next Steps
Maintain the system with regular cleaning and re-labeling. Reassess storage needs seasonally or as plant varieties change. Consider adding new shelves or storage solutions if space allows.
Frequently Asked Questions
How often should I reorganize my greenhouse shelves?
Reorganize at least once every few months or when you notice clutter or accessibility issues. Seasonally is ideal for adapting to plant growth cycles.
What materials are best for greenhouse shelving?
Use rust-resistant materials like PVC, coated metal, or treated wood to withstand humidity and prevent deterioration.
How can I prevent pests from hiding on shelves?
Keep shelves clean, avoid storing leftover plant debris, and use pest deterrents or sticky traps as needed.
Can I use plastic storage bins for all supplies?
Yes, plastic bins are durable, waterproof, and easy to label, making them ideal for most greenhouse supplies.